12/08/2018, 16:11
[iOS] Xây dựng ứng dụng thanh toán trực tuyến với Shopify mobile buy SDK [Phần 3]
Mở đầu. Sau 2 phần đầu giới thiệu cũng như cách thức để lấy được thông tin các sản phẩm từ shopify store. Phần 3 này chúng ta sẽ bước đầu đến với một phần vô cùng quan trọng trong ứng dụng thanh toán trực tuyến đó là bước thanh toán. Trước hết, phần này mình sẽ giới thiệu cách add shipping ...
Mở đầu.
Sau 2 phần đầu giới thiệu cũng như cách thức để lấy được thông tin các sản phẩm từ shopify store. Phần 3 này chúng ta sẽ bước đầu đến với một phần vô cùng quan trọng trong ứng dụng thanh toán trực tuyến đó là bước thanh toán. Trước hết, phần này mình sẽ giới thiệu cách add shipping address, billing address cũng như lựa chọn shipping rates khi dùng Shopify mobile buy SDK.
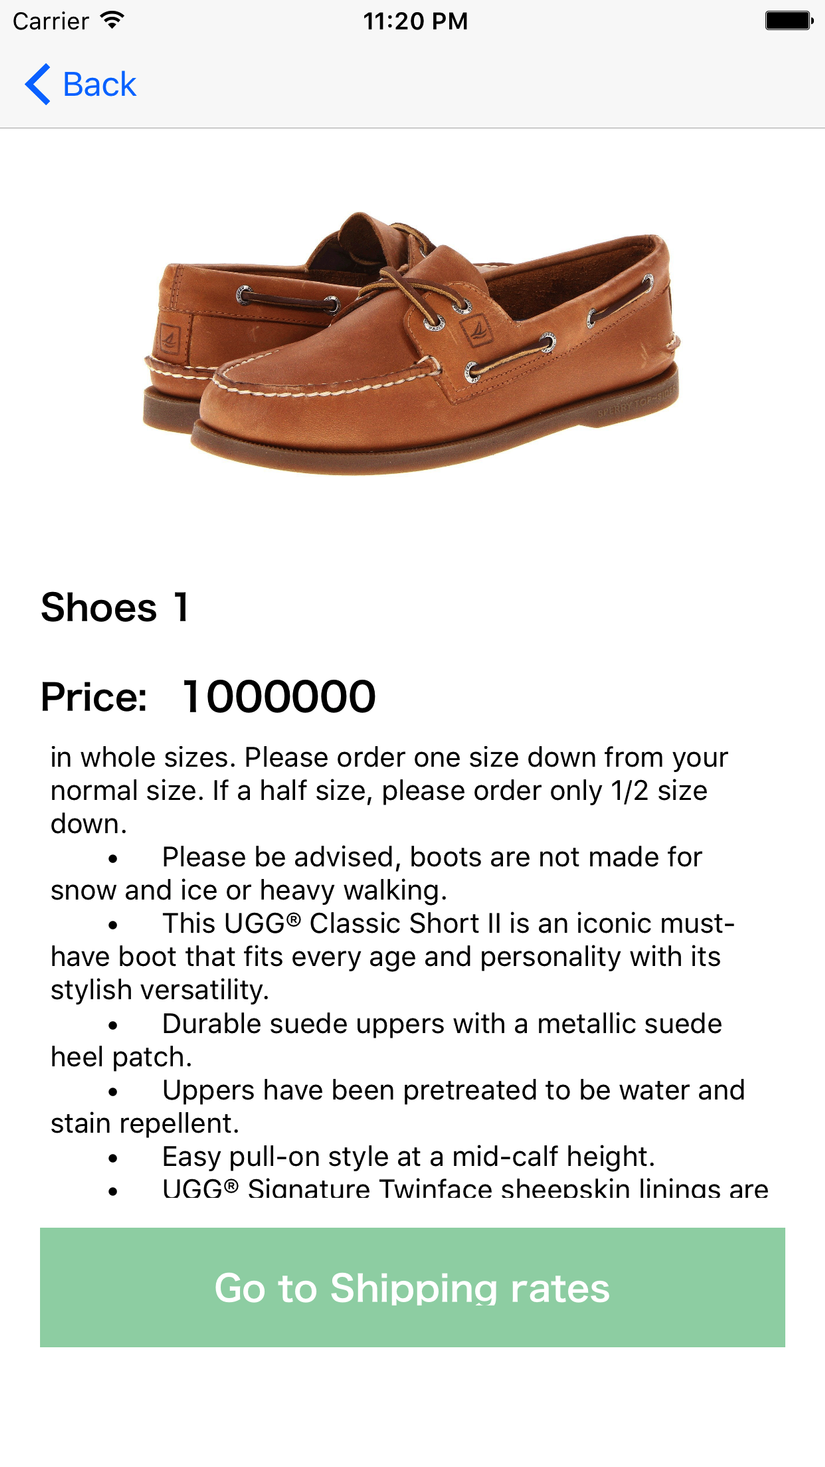
Tạo trang product detail.
- Tạo ProductDetailViewController như sau:
- Tạo 1 BuyCheckout với product mình muốn thanh toán.
Khai báo các biến toàn cục:
    var checkoutCreationOperation = Operation()
    var checkout: BUYCheckout!
Function create BUYCheckout:
func createBUYCheckoutWithProduct(productId: NSNumber, complete: @escaping (Bool) -> ()) -> Void {
        if (self.checkoutCreationOperation.isExecuting) {
            self.checkoutCreationOperation.cancel()
        }

        // init BUYCart
        let cart:BUYCart = BUYCart(modelManager: BUYClient.sharedClient.modelManager, jsonDictionary: nil)

        // get BUYProduct by SDK
        BUYClient.sharedClient.getProductById(productId) { (product, error) in
            guard let product = product else {
                print("Connect to shopify is error")
                return
            }

            if let variant = product.variantsArray().first {
                cart.add(variant)
            }

            // create a BUYCheckout
            let checkout:BUYCheckout = BUYCheckout(modelManager: BUYClient.sharedClient.modelManager, cart: cart)

            self.checkoutCreationOperation = BUYClient.sharedClient.createCheckout(checkout, completion: { [weak self] (checkout, error) in
                if error == nil && checkout != nil {
                    self?.checkout = checkout
                    print("Creating checkout success")
                    complete(true)
                } else {
                    print("Error creating checkout: (error)")
                    complete(false)
                }
            })
        }
    }
Giải thích:
- checkoutCreationOperation: là một Operation, việc check .isExecuting và dùng .cancel() để tránh trường hợp tạo nhiều BUYCheckout không cần thiết.
- cart: là một object BUYCart nơi chứa 1 list các BUYProductVariant cần thanh toán. 1 Product có thể có 1 hoặc nhiều variant khác nhau. (Trong ví dụ này Product của mình chỉ có 1 variant)
- BUYClient.sharedClient: Chính là BUYClient(shopDomain: self.shopDomain, apiKey: self.apiKey, appId: self.appID) đã config ở [Phần 2]
Add shipping address và Billing address cho BUYCheckout:
- Đầu tiên chúng ta init một object BUYAddress bằng function:
func createBUYAddress() -> BUYAddress {
        let buyAddress:BUYAddress =
            BUYClient.sharedClient.modelManager.insertAddress(withJSONDictionary: nil)
        buyAddress.address1 = "421"
        buyAddress.city = "hhhhh"
        buyAddress.firstName = "thien"
        buyAddress.lastName = "tran"
        buyAddress.province = "NY"
        buyAddress.zip = "550000"
        buyAddress.country = "VN"

        return buyAddress
    }
P/S: Các bạn có thể tạo một màn hình khác để input thông tin địa chỉ vào. Ở đây mình tạm set cứng trong màn hình product detail lun.
