Xây dựng một bảng dữ liệu trong thời gian thực bằng Ruby on Rails và Postgresql
Xây dựng một bảng dữ liệu trong thời gian thực bằng Ruby on Rails và Postgresql Giới thiệu Khả năng cập nhật dữ liệu trong thời gian thực là yêu cầu hàng đầu của các ứng dụng web hiện nay. Người dùng muốn dữ liệu được cập nhật liên tục mà không phải mất công làm mới lại trang để có được thông ...
Xây dựng một bảng dữ liệu trong thời gian thực bằng Ruby on Rails và Postgresql
Giới thiệu
Khả năng cập nhật dữ liệu trong thời gian thực là yêu cầu hàng đầu của các ứng dụng web hiện nay. Người dùng muốn dữ liệu được cập nhật liên tục mà không phải mất công làm mới lại trang để có được thông tin mới.
Việc thực hiện cập nhật thông tin trong thời gian thực của bất kỳ ứng dụng web nào cũng có thể là thách thức và phải thực hiện chính xác. Bài viết này sẽ giúp bạn thực hiện việc cập nhật thông tin trong thời gian thực với sự hỗ trợ của Pusher trong một ứng dụng Ruby.
Yêu cầu tiên quyết
- Nếu bạn có kiến thức cơ bản về Postgresql, Ruby và CoffeeScript thì sẽ hữu ích cho bạn trong bài viết này.
Thiết lập ứng dụng
-Trước khi thực hiện hãy chắc chắn bạn đã cài đặt Ruby và Rails. Kiểm tra bằng cách:
ruby -v // từ 2.1 trở lên
rails -v // từ 4.2 trở lên
Tiếp theo thực hiện dòng lệnh để khởi tạo ứng dụng,
rails new pusher-tables -T --database=postgresql
Câu lệnh trên tạo ra một ứng dụng Rails. Cờ -T được thêm vào để không sinh ra bất kỳ file test nào. Tiếp đến thực hiện lệnh,
cd pusher-tables
Mở Gemfile và thêm các dòng sau:
gem "bootstrap", "~> 4.1.0"
gem "jquery-rails"
gem "pusher"
gem "figaro"
Sau đó thực hiện:
bundle install
Cài đặt Database
- Đầu tiên, chúng ta sẽ tạo 1 database có tên pusher-tables-development
- Trong file database.yml config lại như sau:
    development:
      <<: *default
      database: pusher-tables_development // add this line if it isn't already there
      username: database_user // add this line
      password: user_password // add this line
- Nhập username và password của bạn để truy cập vào database. Sau đó thực hiện lệnh sau để thiết lập database: rails db:setup
Xem cách hoạt động
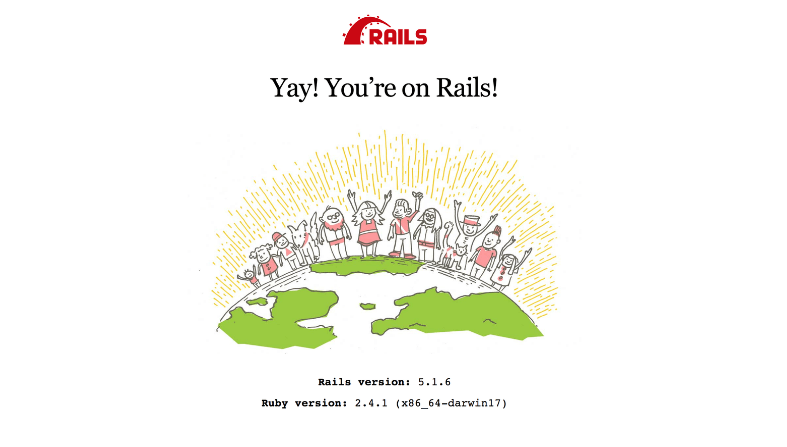
- Sau khi thực hiện xong các bước trên ta thực hiện lệnh rails s và truy cập vào địa chỉ localhost:3000 chúng ta sẽ thấy trang web hiển thị như sau:
Thiết lập tài khoản Pusher
-
Đăng ký tài khoản Sign up Pusher
-
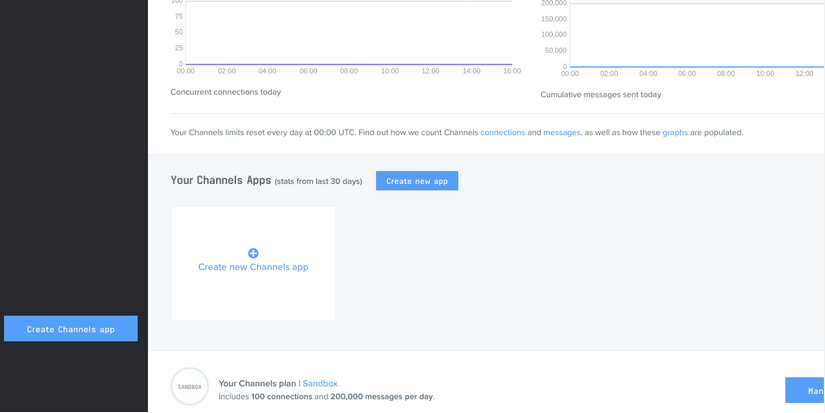
Khi đăng ký tài khoản thành công, thực hiện tạo app mới bằng cách chọn Channels app trên sidebar, sau đó click chọn Create Channels app
-
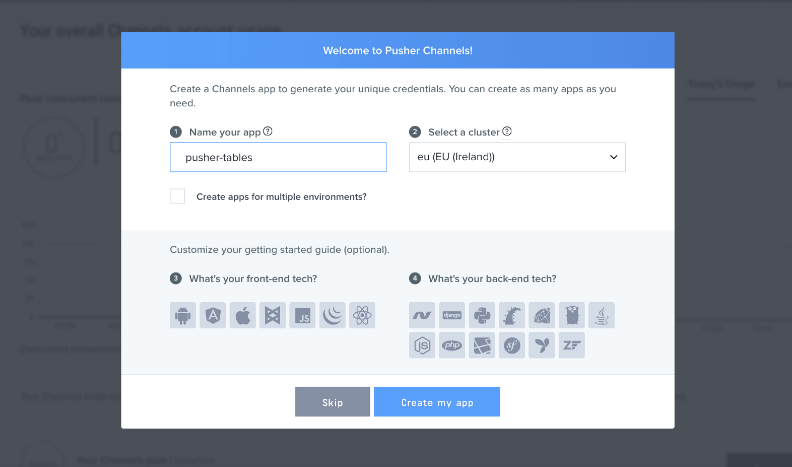
Cấu hình ứng dụng bằng cách cung cấp các thông tin cơ bản được yêu cầu. Chọn framework với ứng dụng của bạn để lấy đoạn code phù hợp.
-
Bạn có thể truy xuất khóa của mình từ tab App Keys:
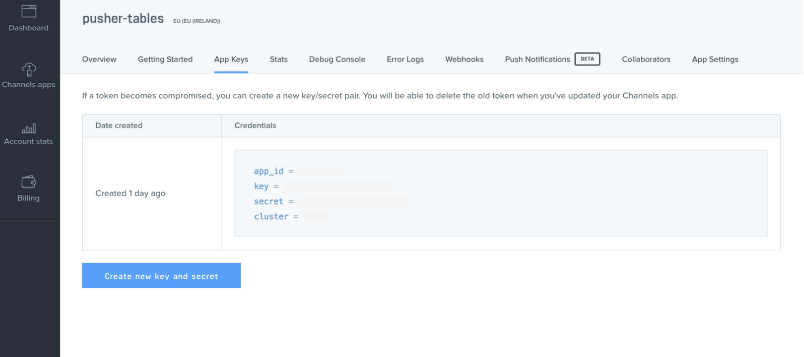
- Khi đã có khóa Pusher API, di chuyển đến config/initializers tạo file pusher.rb và thêm đoạn code sau:
    require 'pusher'

    Pusher.app_id = ENV["PUSHER_APP_ID"]
    Pusher.key = ENV["PUSHER_KEY"]
    Pusher.secret = ENV["PUSHER_SECRET"]
    Pusher.cluster = ENV["PUSHER_CLUSTER"]
    Pusher.logger = Rails.logger
    Pusher.encrypted = true
- Trong terminal run firago install. Nó sẽ tạo ra file application.yml. Tronng file application.yb, thêm Pusher keys của bạn như sau:
    PUSHER_APP_ID: 'xxxxxx'
    PUSHER_KEY: 'xxxxxxxxxxxxxxxxx'
    PUSHER_SECRET: 'xxxxxxxxxxxxxx'
    PUSHER_CLUSTER: 'xx'
Tạo model và controller
Tạo model và controller cho ứng dụng sử dụng scaffold
// generate employee model and controllers
$ rails g scaffold employee name:string position:string office:string extension:string start_date:date

// run database migration
$ rails db:migrate
Tạo đường dẫn
Trong file config/routes.rb thêm dòng code sau: root 'employees#index' Trong file application.js, thêm dòng code sau trước dòng cuối cùng như sau:
.....
//= require jquery3 # add this line
//= require popper # add this line
//= require bootstrap # add this line
//= require_tree .
....
Đổi tên file application.css thành application.scss, import Bootsrap và thêm các styles mà bạn muốn.
 @import "bootstrap";
 @import url('https://fonts.googleapis.com/css?family=Josefin+Sans');

 body {
  font-family: 'Josefin Sans', sans-serif;
 }

 .navbar-brand {
   color: #FFF !important;

   &:hover {
     background-color: unset;
   }
 }

 .form-control {
   outline: none !important;

   &:focus {
    border-color: transparent !important;
    border: 1px !important;
   }
 }
Nếu bạn khởi động lại server và reload lại app bạn sẽ thấy sự thay đổi khi có Bootstrap.
Thiết lập table
- Sử dụng table của Bootstrap. Thay thế code trong file index.html.erb bằng các dòng sau:
<div class="container-fluid">
  <p id="notice"><%= notice %></p>
  <div class="row py-3 px-3">
    <div class="col-12 col-sm-8">
      <h3 class="">Employees</h3>
      <table id="employee-table" class="table table-hover">
        <thead  class="thead-light">
          <tr>
            <th>Name</th>
            <th>Position</th>
            <th>Office</th>
            <th>Extension</th>
            <th>Start date</th>
            <th colspan="3"></th>
          </tr>
        </thead>

        <tbody>
          <% @employees.each do |employee| %>
            <tr>
              <td><%= employee.name %></td>
              <td><%= employee.position %></td>
              <td><%= employee.office %></td>
              <td><%= employee.extension %></td>
              <td><%= employee.start_date %></td>
              <td><%= link_to "Show", employee %></td>
              <td><%= link_to "Edit", edit_employee_path(employee) %></td>
              <td><%= link_to "Delete", employee, method: :delete, data: { confirm: "Are you sure?" } %></td>
            </tr>
          <% end %>
        </tbody>
      </table>
      <br>
    </div>

    <div class="col-12 col-sm-4">
      <h3>New Employee</h3>
      <%= render "form", employee: @employee %>
    </div>
  </div>
</div>
Update method index trong employees_controller như sau:
def index
  @employees = Employee.all
  @employee = Employee.new # add this line
end
Thêm bản ghi mới cho table
- Sử dụng AJAX để thực hiện việc này. Để thực hiện phải thêm remote: true và format: :json. Sử dụng file _form.html.erb của bạn như sau:
<%= form_with(model: employee, remote: true, format: :json, id: 'add_employee') do |form| %>
  <% if employee.errors.any? %>
    <div id="error_explanation">
      <h2><%= pluralize(employee.errors.count, "error") %> prohibited this employee from being saved:</h2>

      <ul>
      <% employee.errors.full_messages.each do |message| %>
        <li><%= message %></li>
      <% end %>
      </ul>
    </div>
  <% end %>

  <div class="field">
    <%= form.label :name %>
    <%= form.text_field :name, id: :employee_name, class: "form-control" %>
  </div>

  <div class="field">
    <%= form.label :position %>
    <%= form.text_field :position, id: :employee_position, class: "form-control" %>
  </div>

  <div class="field">
    <%= form.label :office %>
    <%= form.select :office, [['Lagos', 'Lagos'], ['New York', 'New York',], ['Lisbon', 'Lisbon']], {}, { class: "form-control", id: "employee_office" } %>
  </div>

  <div class="field">
    <%= form.label :extension %>
    <%= form.text_field :extension, id: :employee_extension, class: "form-control" %>
  </div>

  <div class="field">
    <%= form.label :start_date %>
    <%= form.date_field :start_date, id: :employee_start_date, class: "form-control" %>
  </div>

  <div class="actions">
    <%= form.submit 'Create Employee', class: "btn btn-success" %>
  </div>
<% end %>
Chúng ta sẽ xử lý update table với CoffeeScript:
updateTable = (data) ->
  $('#employee-table tbody').append """
    <tr>
      <td>#{data.name}</td>
      <td>#{data.position}</td>
      <td>#{data.office}</td>
      <td>#{data.extension}</td>
      <td>#{data.start_date}</td>
      <td><a href="/employees/#{data.id}">Show</a></td>
      <td><a href="/employees/#{data.id}/edit">Edit</a></td>
      <td><a data-confirm="Are you sure?" rel="nofollow" data-method="delete" href="/employees/#{data.id}">Delete</a></td>
    </tr>
  """
  return

  $ ->
  $('#add_employee').on 'ajax:success', (data) ->
    $('#add_employee')[0].reset()
    updateTable data.detail[0]
    return
  return
Các dịch vụ Realtime với Pusher
- Để cập nhật thời gian thực của bảng, chúng ta xuất bản 1 bản ghi nhân viên mới lên kênh và đăng ký nó trên giao diện người dùng của ứng dụng của chúng ta. Trong model employee, chúng ta thêm một callback after_commit gọi phương thức xuất bản bản ghi mới. Chúng ta sử dụng after_commit để dữ liệu được xuất bản bất cứ khi nào chúng ta thêm hoặc cập nhật bản ghi.
- Thêm dòng code sau vào model employee:
class Employee < ApplicationRecord
  after_commit :notify_pusher, on: [:create, :update]

  def notify_pusher
    Pusher.trigger('employee', 'new', self.as_json)
  end
end
Cập nhật UI
- Đổi tên employees.coffee thành employee.coffee.erb và cập nhật lại code như sau:
updateTable = (data) ->
  $('#employee-table tbody').append """
    <tr>
      <td>#{data.name}</td>
      <td>#{data.position}</td>
      <td>#{data.office}</td>
      <td>#{data.extension}</td>
      <td>#{data.start_date}</td>
      <td><a href="/employees/#{data.id}">Show</a></td>
      <td><a href="/employees/#{data.id}/edit">Edit</a></td>
      <td><a data-confirm="Are you sure?" rel="nofollow" data-method="delete" href="/employees/#{data.id}">Delete</a></td>
    </tr>
  """
  return

  $ ->
  $('#add_employee').on 'ajax:success', (data) ->
    $('#add_employee')[0].reset()
    return
  pusher = new Pusher('<%= ENV["PUSHER_KEY"] %>',
    cluster: '<%= ENV["PUSHER_CLUSTER"] %>'
    encrypted: true)
  channel = pusher.subscribe('employee')
  channel.bind 'new', (data) ->
    updateTable data
    return
  return
Cuối cùng thêm thư viện Pusher vào trong file application.html.erb: <script src="https://js.pusher.com/4.1/pusher.min.js"></script>
Tổng kết
Trên đây là cách sử dụng Pusher để thực hiện cập nhật dữ liệu trong thời gian thực. Bạn có thể tìm hiểu kỹ hơn bằng cách tìm hiểu về Pusher's documentation.
Nguồn tham khảo
Đọc thêm tại đây
Sourse code của ứng dụng
