[Android Things] Phần 6: IOT - UART port và TX - RX.
Hôm nay chúng ta sẽ can thiệp một chút vào bộ kit với 1 ví dụ nho nhỏ về cách đọc và ghi dữ liệu cơ bản thông qua UART, tạo ra một vòng lặp và nó lặp lại ngay lập tức bất cứ dữ liệu nào được đọc từ bộ đệm RX tới bộ đệm TX. Phần cứng. Chuẩn bị linh kiện. Bộ kit Raspberry 3 Dây nối cái - ...
tạo ra một vòng lặp và nó lặp lại ngay lập tức bất cứ dữ liệu nào được đọc từ bộ đệm RX tới bộ đệm TX.
Phần cứng.
Chuẩn bị linh kiện.
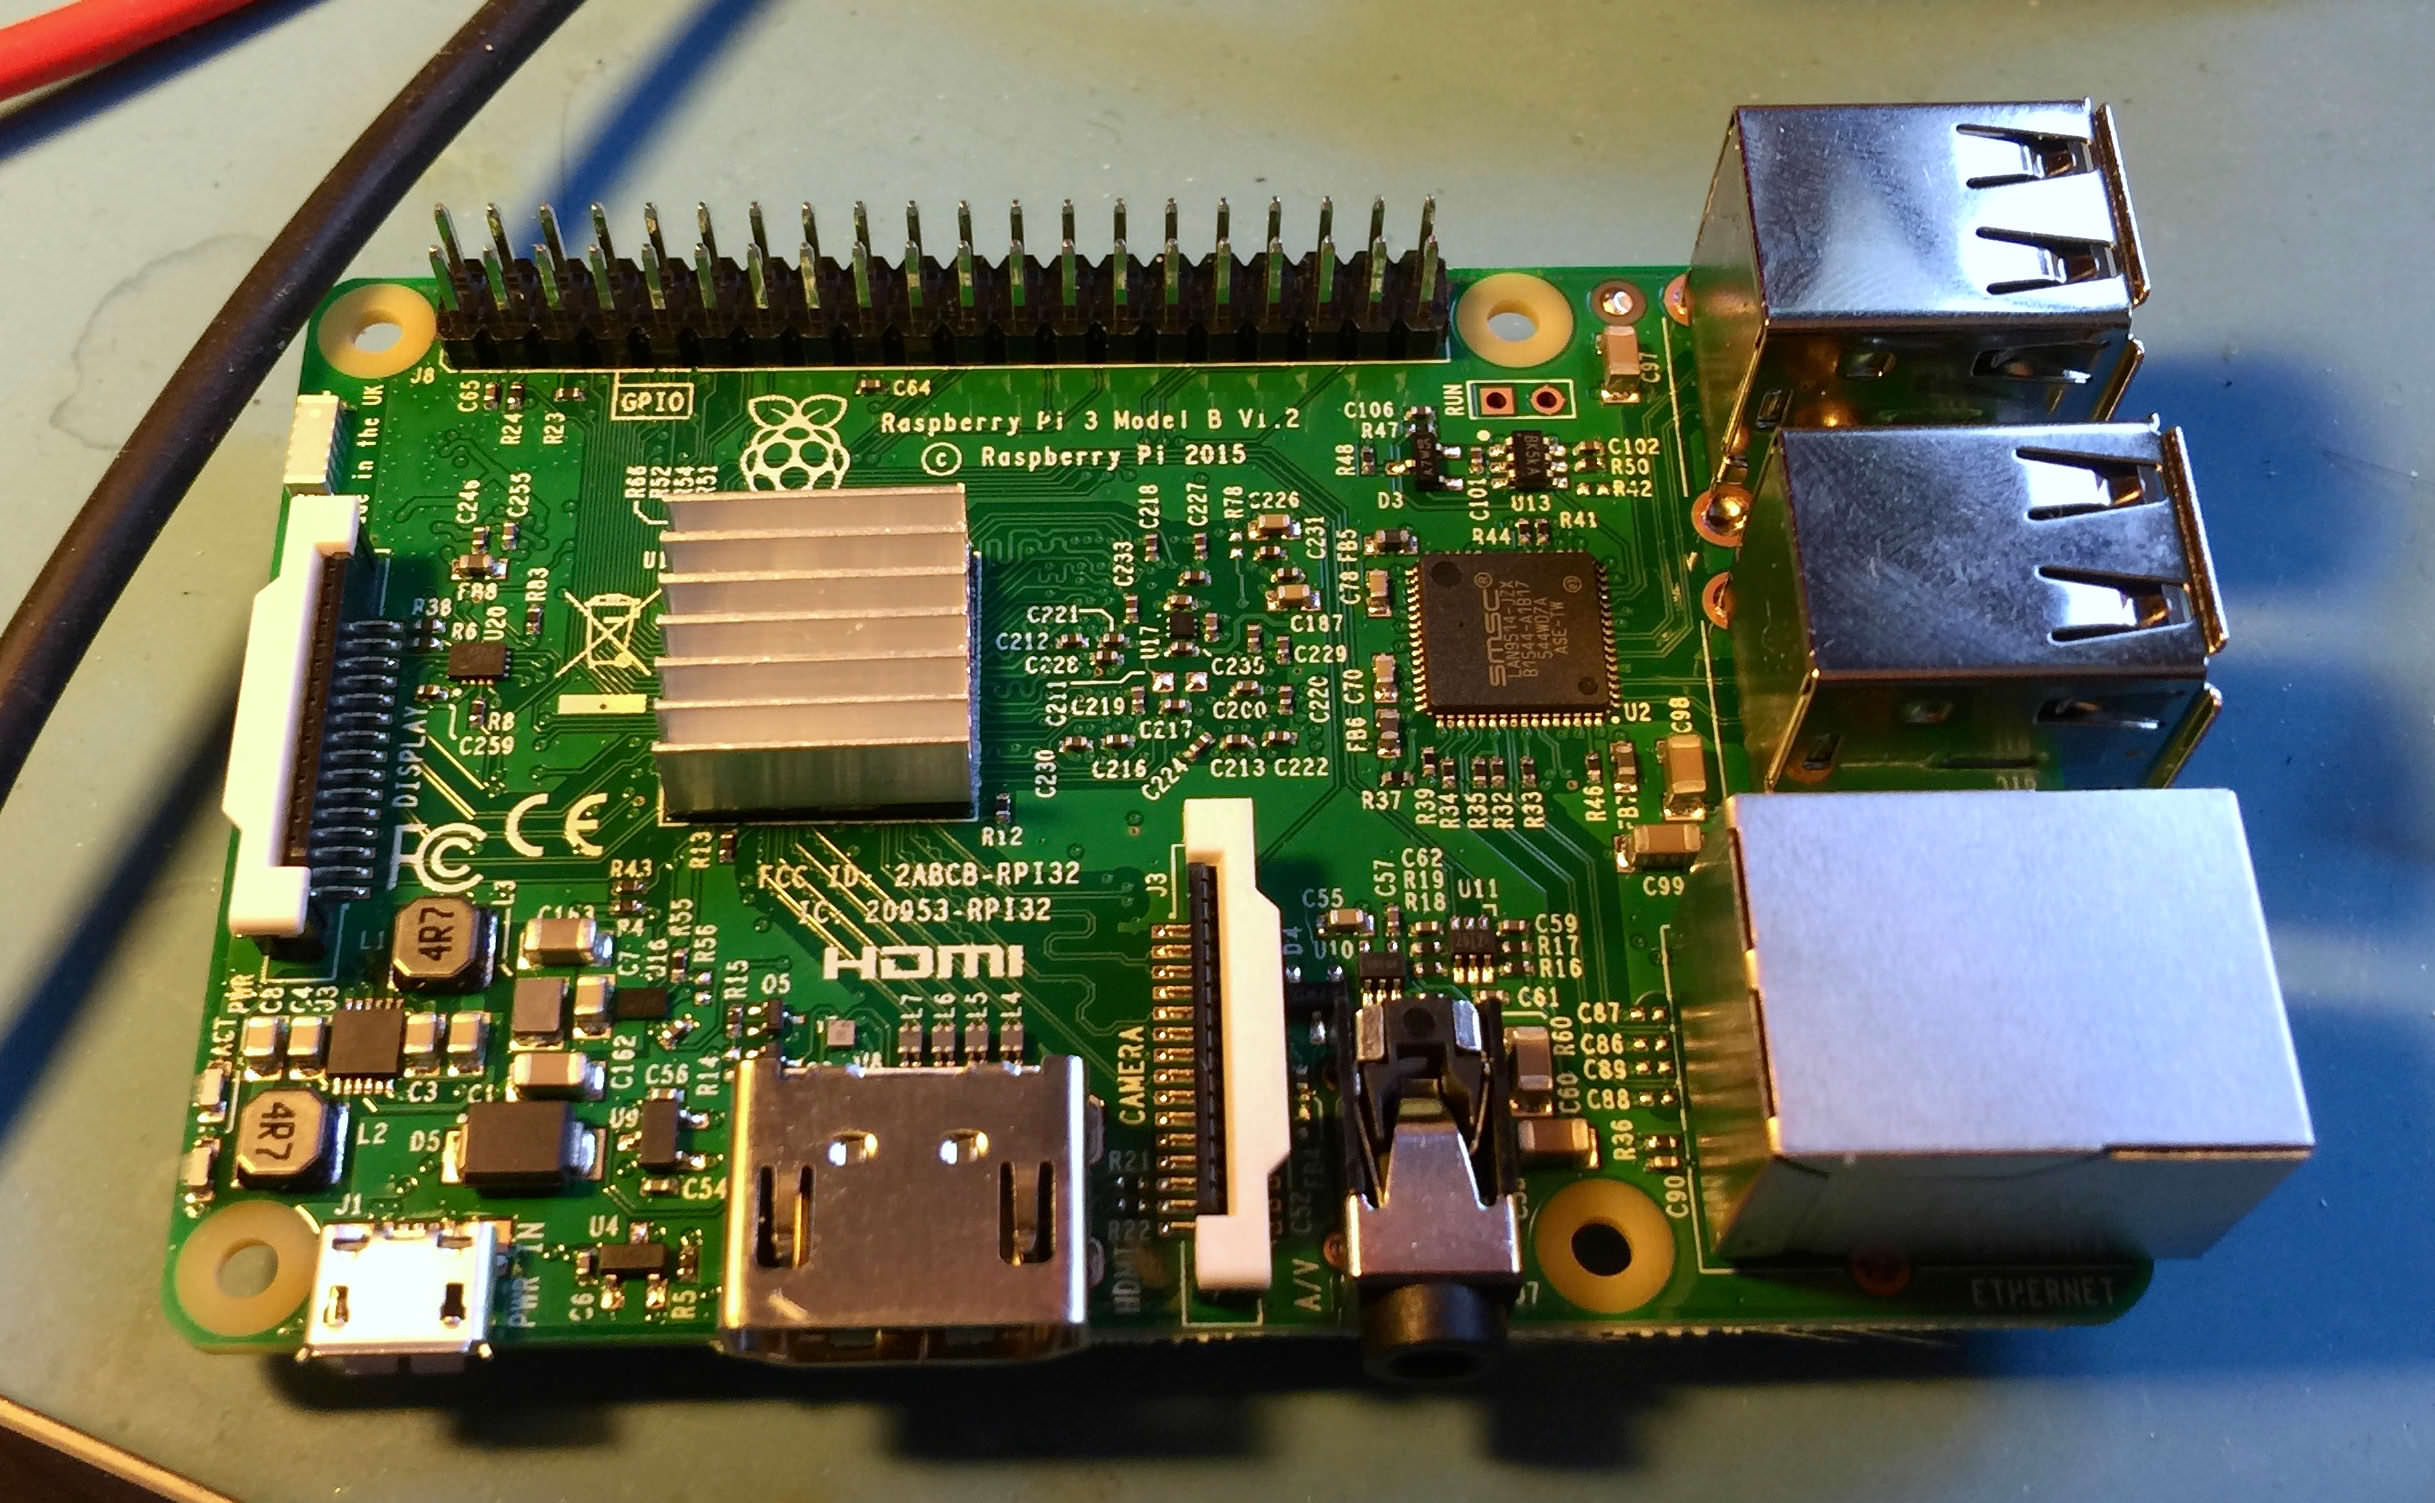
- Bộ kit Raspberry 3
- Dây nối cái - cái, đực - đực
- Dây cái - cái:

- Dây đực - đực:

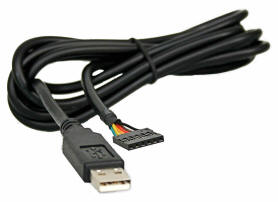
- USB TTL Serial Cables:
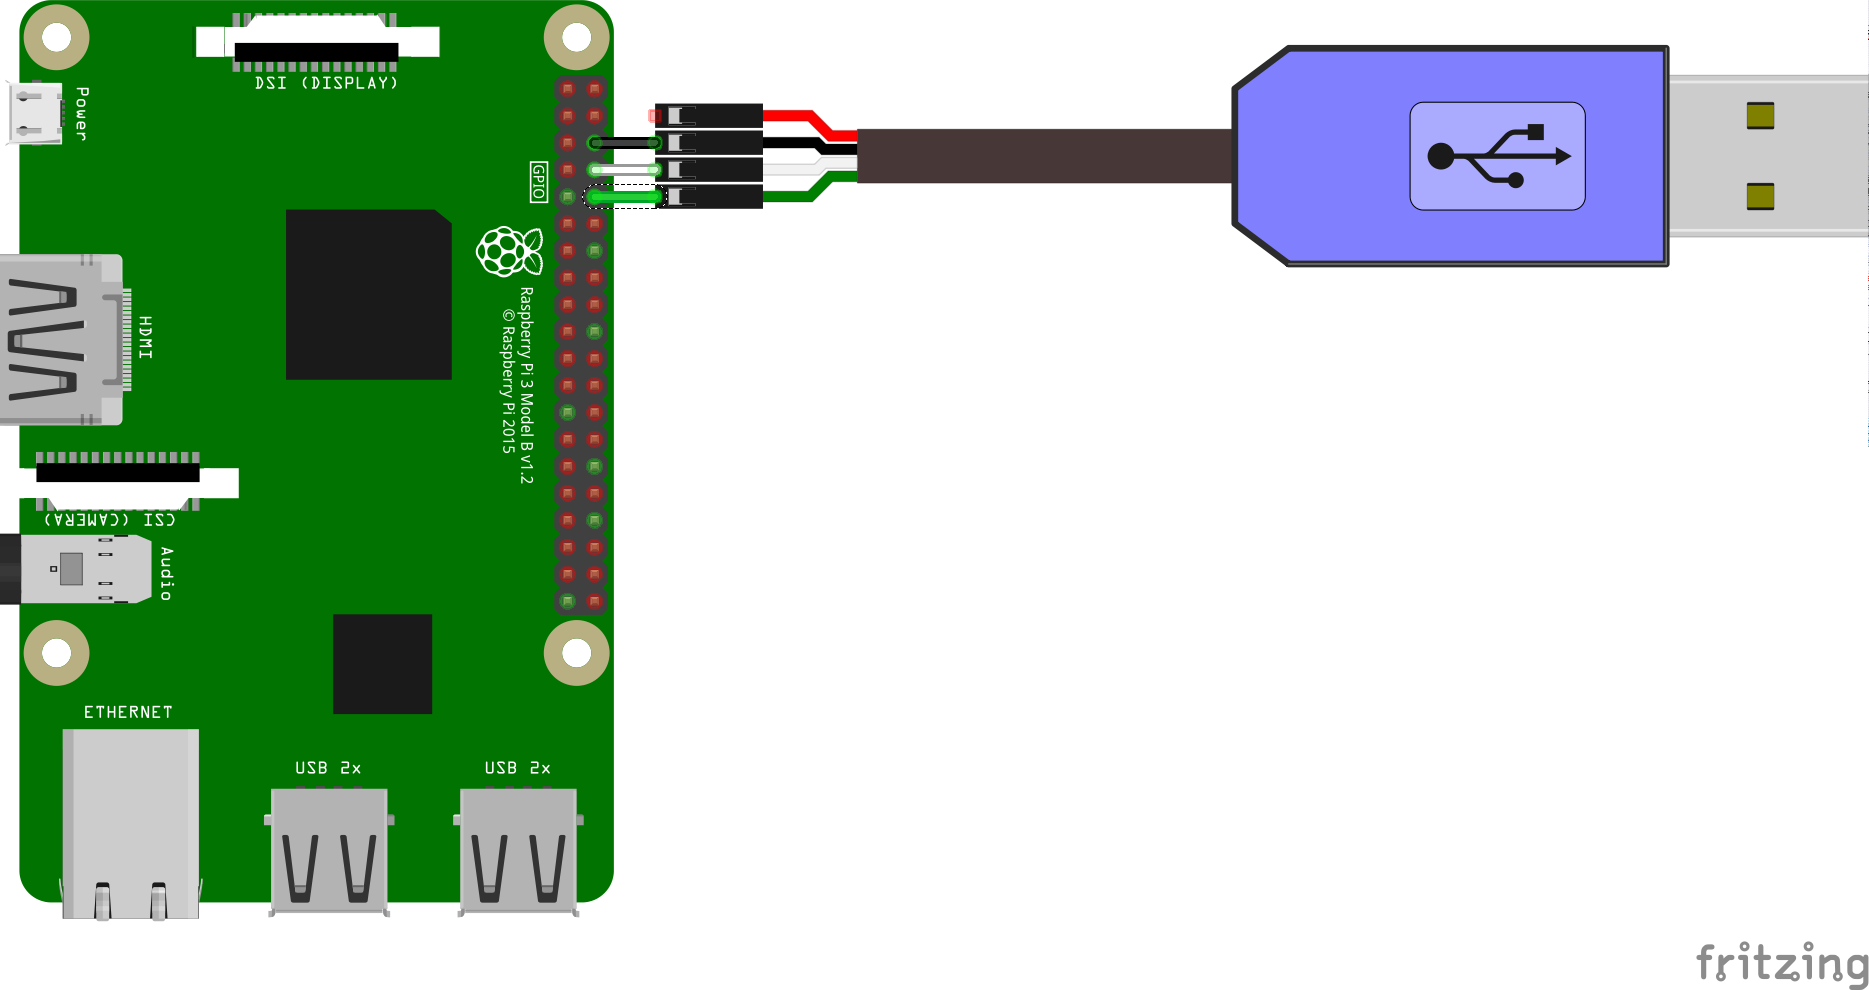
Kết nối phần cứng các linh kiện
Chúng ta sẽ kết nối các thiết bị như sau:
Chú ý: Trên bộ kit Pi3 chúng ta cần vô hiệu hoá giao diện Debugging bằng cách sử dụng hướng dẫn sau đây để trình điều khiển có thể truy cập vào cổng UART:
- Đọc tài liệu hướng dẫn của USB TTL cho màu dây cable TX và RX.
- Kết nối cable TX tới pin RX trên board
- Kết nối cable RX tới pin TX trên board
Phần mềm:
Như Phần trước chúng ta đã nói đến việc cài đặt 1 class phục vụ cho việc giao tiếp giữa thiết bị IOT và thiêt bi ngoại vi thông qua class BoardDefault.java
Ví dụ về class BoardDefault.java:
package com.example.luuhtruc.raspberryappdemo.loopback;

import android.os.Build;
@SuppressWarnings("WeakerAccess")
public class BoardDefaults {
    private static final String DEVICE_EDISON = "edison";
    private static final String DEVICE_JOULE = "joule";
    private static final String DEVICE_RPI3 = "rpi3";
    private static final String DEVICE_IMX6UL_PICO = "imx6ul_pico";
    private static final String DEVICE_IMX6UL_VVDN = "imx6ul_iopb";
    private static final String DEVICE_IMX7D_PICO = "imx7d_pico";

    /**
     * Return the UART for loopback.
     */
    public static String getUartName() {
        switch (Build.DEVICE) {
            case DEVICE_EDISON:
                return "UART1";
            case DEVICE_JOULE:
                return "UART1";
            case DEVICE_RPI3:
                return "UART0";
            case DEVICE_IMX6UL_PICO:
                return "UART3";
            case DEVICE_IMX6UL_VVDN:
                return "UART2";
            case DEVICE_IMX7D_PICO:
                return "UART6";
            default:
                throw new IllegalStateException("Unknown Build.DEVICE " + Build.DEVICE);
        }
    }
}
b. Tại class LoopbackActivity.java
Khi làm việc với những kết nối giao nhận dữ liệu, chúng ta thường thấy các hàm callback được sử dụng, và ở đây cũng không phải ngoại lệ, chúng ta sẽ khởi tạo một hàm callback để gọi ra khi UART nhận dữ liệu mới đến.
private UartDeviceCallback mCallback = new UartDeviceCallback() {
        @Override
        public boolean onUartDeviceDataAvailable(UartDevice uart) {
            // Queue up a data transfer
            transferUartData();
            //Continue listening for more interrupts
            return true;
        }

        @Override
        public void onUartDeviceError(UartDevice uart, int error) {
            Log.w(TAG, uart + ": Error event " + error);
        }
    };
Bên cạnh việc sử dụng hàm callback chúng ta cần xử lý đóng và mở port UART.
Mở kết nối port
private void openUart(String name, int baudRate) throws IOException {
        mLoopbackDevice = mService.openUartDevice(name);
        // Configure the UART
        mLoopbackDevice.setBaudrate(baudRate);
        mLoopbackDevice.setDataSize(DATA_BITS);
        mLoopbackDevice.setParity(UartDevice.PARITY_NONE);
        mLoopbackDevice.setStopBits(STOP_BITS);

        mLoopbackDevice.registerUartDeviceCallback(mCallback, mInputHandler);
    }
Đóng kết nối port
private void closeUart() throws IOException {
       if (mLoopbackDevice != null) {
           mLoopbackDevice.unregisterUartDeviceCallback(mCallback);
           try {
               mLoopbackDevice.close();
           } finally {
               mLoopbackDevice = null;
           }
       }
   }
Và cuối cùng và quan trọng nhất là hàm transferUartData():
private void transferUartData() {
        if (mLoopbackDevice != null) {
            // Loop until there is no more data in the RX buffer.
            try {
                byte[] buffer = new byte[CHUNK_SIZE];
                int read;
                while ((read = mLoopbackDevice.read(buffer, buffer.length)) > 0) {
                    mLoopbackDevice.write(buffer, read);
                }
            } catch (IOException e) {
                Log.w(TAG, "Unable to transfer data over UART", e);
            }
        }
    }
Tổng thể class LookbackActivity.java các bạn có thể tham khảo dưới đây
package com.example.luuhtruc.raspberryappdemo.loopback;

import android.app.Activity;
import android.os.Bundle;
import android.os.Handler;
import android.os.HandlerThread;
import android.util.Log;

import com.google.android.things.pio.PeripheralManagerService;
import com.google.android.things.pio.UartDevice;
import com.google.android.things.pio.UartDeviceCallback;

import java.io.IOException;

/**
 * Example activity that provides a UART loopback on the
 * specified device. All data received at the specified
 * baud rate will be transferred back out the same UART.
 */
public class LoopbackActivity extends Activity {
    private static final String TAG = "LoopbackActivity";

    // UART Configuration Parameters
    private static final int BAUD_RATE = 115200;
    private static final int DATA_BITS = 8;
    private static final int STOP_BITS = 1;

    private static final int CHUNK_SIZE = 512;

    private PeripheralManagerService mService = new PeripheralManagerService();

    private HandlerThread mInputThread;
    private Handler mInputHandler;

    private UartDevice mLoopbackDevice;

    private Runnable mTransferUartRunnable = new Runnable() {
        @Override
        public void run() {
            transferUartData();
        }
    };

    @Override
    protected void onCreate(Bundle savedInstanceState) {
        super.onCreate(savedInstanceState);
        Log.d(TAG, "Loopback Created");

        // Create a background looper thread for I/O
        mInputThread = new HandlerThread("InputThread");
        mInputThread.start();
        mInputHandler = new Handler(mInputThread.getLooper());

        // Attempt to access the UART device
        try {
            openUart(BoardDefaults.getUartName(), BAUD_RATE);
            // Read any initially buffered data
            mInputHandler.post(mTransferUartRunnable);
        } catch (IOException e) {
            Log.e(TAG, "Unable to open UART device", e);
        }
    }

    @Override
    protected void onDestroy() {
        super.onDestroy();
        Log.d(TAG, "Loopback Destroyed");

        // Terminate the worker thread
        if (mInputThread != null) {
            mInputThread.quitSafely();
        }

        // Attempt to close the UART device
        try {
            closeUart();
        } catch (IOException e) {
            Log.e(TAG, "Error closing UART device:", e);
        }
    }

    /**
     * Callback invoked when UART receives new incoming data.
     */
    private UartDeviceCallback mCallback = new UartDeviceCallback() {
        @Override
        public boolean onUartDeviceDataAvailable(UartDevice uart) {
            // Queue up a data transfer
            transferUartData();
            //Continue listening for more interrupts
            return true;
        }

        @Override
        public void onUartDeviceError(UartDevice uart, int error) {
            Log.w(TAG, uart + ": Error event " + error);
        }
    };

    /* Private Helper Methods */

    /**
     * Access and configure the requested UART device for 8N1.
     *
     * @param name Name of the UART peripheral device to open.
     * @param baudRate Data transfer rate. Should be a standard UART baud,
     *                 such as 9600, 19200, 38400, 57600, 115200, etc.
     *
     * @throws IOException if an error occurs opening the UART port.
     */
    private void openUart(String name, int baudRate) throws IOException {
        mLoopbackDevice = mService.openUartDevice(name);
        // Configure the UART
        mLoopbackDevice.setBaudrate(baudRate);
        mLoopbackDevice.setDataSize(DATA_BITS);
        mLoopbackDevice.setParity(UartDevice.PARITY_NONE);
        mLoopbackDevice.setStopBits(STOP_BITS);

        mLoopbackDevice.registerUartDeviceCallback(mCallback, mInputHandler);
    }

    /**
     * Close the UART device connection, if it exists
     */
    private void closeUart() throws IOException {
        if (mLoopbackDevice != null) {
            mLoopbackDevice.unregisterUartDeviceCallback(mCallback);
            try {
                mLoopbackDevice.close();
            } finally {
                mLoopbackDevice = null;
            }
        }
    }

    /**
     * Loop over the contents of the UART RX buffer, transferring each
     * one back to the TX buffer to create a loopback service.
     *
     * Potentially long-running operation. Call from a worker thread.
     */
    private void transferUartData() {
        if (mLoopbackDevice != null) {
            // Loop until there is no more data in the RX buffer.
            try {
                byte[] buffer = new byte[CHUNK_SIZE];
                int read;
                while ((read = mLoopbackDevice.read(buffer, buffer.length)) > 0) {
                    mLoopbackDevice.write(buffer, read);
                }
            } catch (IOException e) {
                Log.w(TAG, "Unable to transfer data over UART", e);
            }
        }
    }
}
Sau khi đã hoàn thành, chúng ta hãy khởi động phần cứng là bộ kit Rapsberry Pi3 và khởi chạy ứng dụng.
Enjoy thôi
