Hướng dẫn upload file bằng AJAX trong ASP.NET MVC sử dụng AjaxFileUpload plugin
AJAX bây giờ khá phổ biến. Hôm nay Góc Kinh Nghiệm chia sẻ cách upload file bằng AJAX trong ASP.NET MVC sử dụng AjaxFileUpload plugin 1. Download AjaxFileUpload plugin Chúng ta vào trang phpletter để downloadAjaxFileUpload plugin 2. Bắt đầu code a. Tạo View Sau khi download plugin ...
AJAX bây giờ khá phổ biến. Hôm nay Góc Kinh Nghiệm chia sẻ cách upload file bằng AJAX trong ASP.NET MVC sử dụng AjaxFileUpload plugin
1. Download AjaxFileUpload plugin
Chúng ta vào trang phpletter để downloadAjaxFileUpload plugin
2. Bắt đầu code
a. Tạo View
Sau khi download plugin xong, chúng ta bắt đầu bắt tay vào thử nghiệm. Tạo một ASP.NET MVC project
Đầu tiên, chúng ta mở file HomeController.cs ra để thêm một action, các bạn có thể đặt tên gì tuỳ ý, ở đây mình đặt tên là TestAJAXUpload như sau:
using System;
using System.Collections.Generic;
using System.Linq;
using System.Web;
using System.Web.Mvc;

namespace AJAXUpload.Controllers
{
	public class HomeController : Controller
	{
		public ActionResult Index()
		{
			ViewBag.Message = "Modify this template to jump-start your ASP.NET MVC application.";

			return View();
		}

		public ActionResult About()
		{
			ViewBag.Message = "Your app description page.";

			return View();
		}

		public ActionResult Contact()
		{
			ViewBag.Message = "Your contact page.";

			return View();
		}

		public ActionResult TestAJAXUpload()
		{
			return View();
		}
	}
}
Sau đó, chúng ta cũng tạo ra View cũng có tên TextAJAXUpload chứa đoạn HTML sau:
@{
    ViewBag.Title = "Test AJAX Upload";
}
<h2>Test AJAX Upload</h2>
<input id="fileToUpload" type="file" name="fileToUpload" />
<input type="button" value="Upload" />
Tới đây chúng ta có được view dùng để upload file như hình bên dưới
b. Tiến hành upload bằng AJAX
Ok! Bây giờ chúng ta đã có một form cơ bản để mô phỏng việc upload của chúng ta trong ASP.NET MVC
– Bước 1: Add plugin ajaxfileuplad.js vào thư mục Scripts. Sau đó, chúng ta mở file _Layout.cshml lên sau đó include ajaxfileuplad.js vô
– Bước 2: Tạo thư mục Files trong project. Thư mục này chúng ta sẽ dùng để chứa file mà người dùng sẽ upload lên server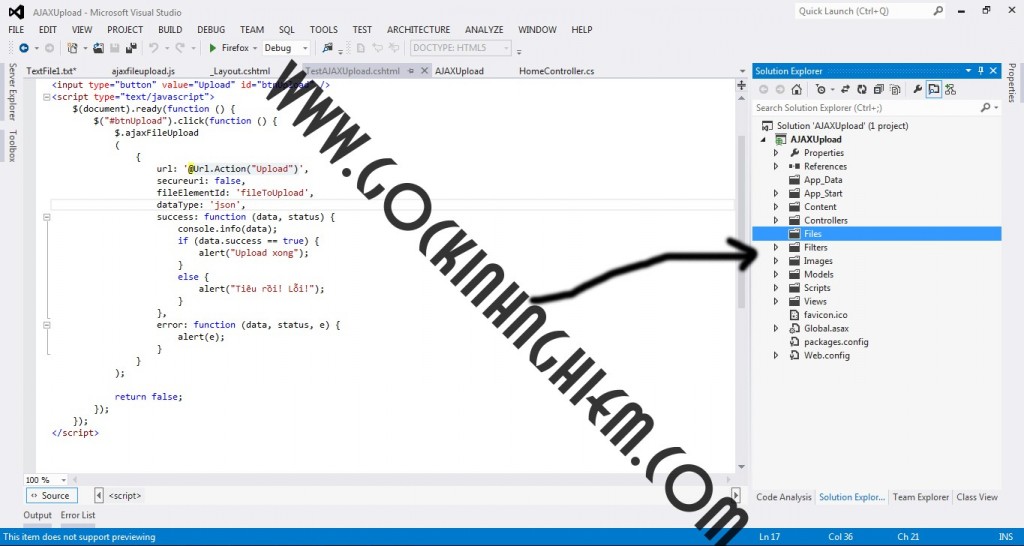
– Bước 3: Viết action để xử lý
Chúng ta viết một action để xử lý việc upload trong controller Home như sau. Góc kinh nghiệm đặt tên action cho demo này là Upload
public JsonResult Upload()
		{
			try
			{
				string path = HttpContext.Server.MapPath("~") + "Files";
				string file = Request.Files[0].FileName;
				Request.Files[0].SaveAs(path + "\" + file);
				var fileInfo = new FileInfo(path + file);
				return Json(new { success = true }, JsonRequestBehavior.AllowGet);
			}
			catch { }

			return Json(new { success = false }, JsonRequestBehavior.AllowGet);

		}
– Bước 4: Chúng ta mở view lên, viết vài dòng code JavaScript để post AJAX
<script type="text/javascript">
$(document).ready(function () {
  $("#btnUpload").click(function () {
    $.ajaxFileUpload
      (
       {
         url: '@Url.Action("Upload")',
         secureuri: false,
         fileElementId: 'fileToUpload',
         dataType: 'json',
         success: function (data, status) {
            if (data.success == true) {
               alert("Upload xong");
            }
            else {
               alert("Tiêu rồi! Lỗi!");
            }
       },
       error: function (data, status, e) {
           alert(e);
       }
     }
  );
  return false;
 });
});
</script>
Chúng ta đã cơ bản hoàn thành việc upload file bằng AJAX nhưng cuộc đời không như là mơ… vì chúng ta sẽ gặp một số lỗi phát sinh từ plugin này… Haiz 
3. Một số lỗi khi sử dụng AjaxFileUpload plugin
a. jQuery.handleError is not a function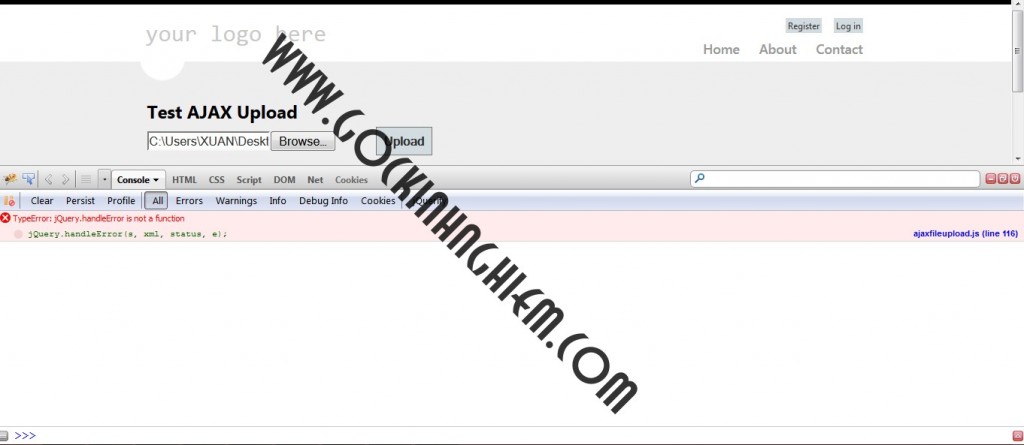
Đầu tiên chúng ta sẽ gặp lỗi này. Lỗi này là do tích tương thích của plugin so với phiên bản mới của jQuery. jQuery không quan tâm tới việc tương thích lùi. Hàm handleError đã bị remove trong phiên bản 1.5 của jQuery
Để fix lỗi này chúng ta thêm vào đoạn mã sau:
jQuery.extend({
	handleError: function( s, xhr, status, e ) {
		// If a local callback was specified, fire it
		if ( s.error )
			s.error( xhr, status, e );
		// If we have some XML response text (e.g. from an AJAX call) then log it in the console
		else if(xhr.responseText)
			console.log(xhr.responseText);
	}
});
b. Sửa lỗi Syntax Error: syntax error
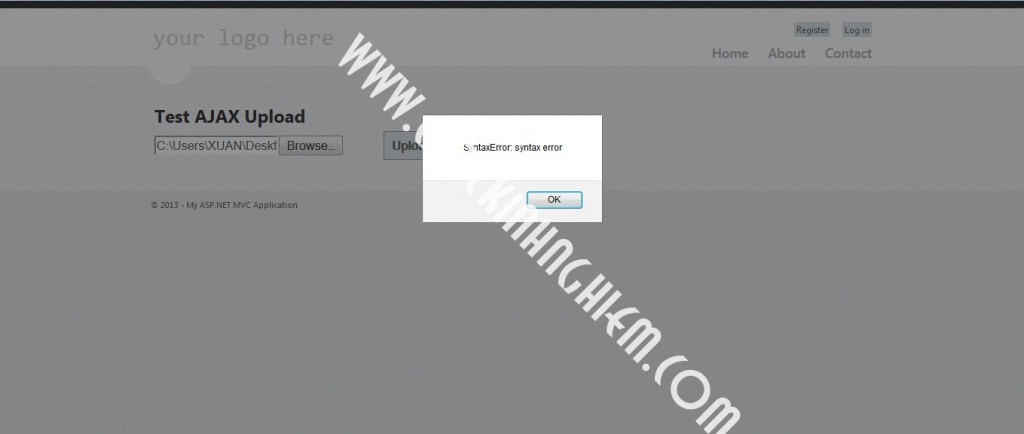
Sau khi sửa xong lỗi trên, lỗi mới sẽ phát sinh như hình bên dưới. Hì hục một hồi, Góc Kinh Nghiệm phát hiện ra là mặc dù phía server chúng ta “ném” về kiểu dữ liệu là JSON và phía client chúng ta cũng “chụp” lấy kiểu dữ liệu JSON nhưng vẫn xảy ra lỗi. Vì sao ? Đó là do chú server code trả về kiểu gì hơi kì cục:
<pre>{"success":true}</pre>
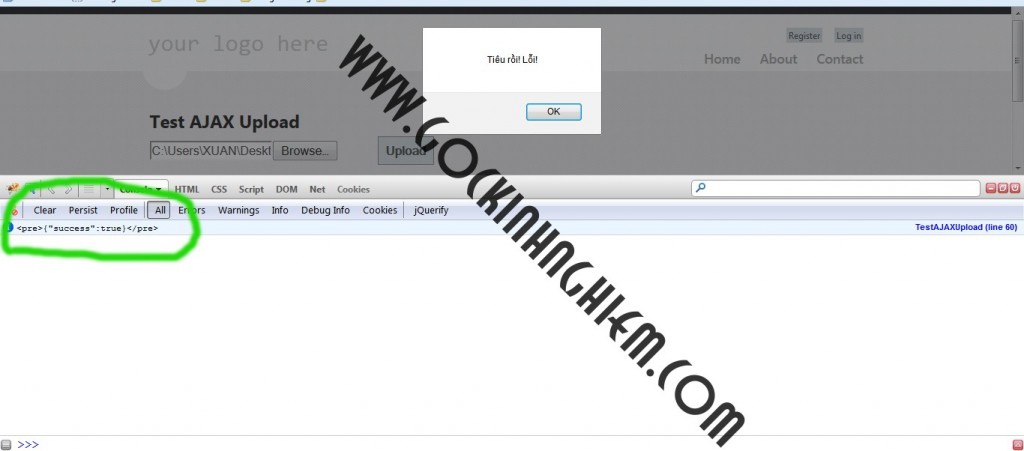
Cái quái gì vậy trời! Trả về kiểu JSON mà ra như HTML vậy cà. Chúng ta có thể sửa lỗi bằng cách thay thế đoạn mã sau:
uploadHttpData: function( r, type ) {
 var data = !type;
 data = type == "xml" || data ? r.responseXML : r.responseText;
 // If the type is "script", eval it in global context
 if ( type == "script" )
   jQuery.globalEval( data );
// Get the JavaScript object, if JSON is used.
 if ( type == "json" )
 {
  if(data.indexOf('<pre>') != -1) {
    data = data.substring(5, data.length-6);
  }
  eval( "data = " + data );
}
// evaluate scripts within html
if ( type == "html" )
  jQuery("<div>").html(data).evalScripts();
  //alert($('param', data).each(function(){alert($(this).attr('value'));}));
 return data;
}
c. Lỗi syntaxerror missing in xml expression ajaxfileupload
Khi chúng ta sửa được lỗi trên thì gần như sửa được lỗi này nhưng đây Góc Kinh Nghiệm ghi lại ở đây để giúp các bạn sau này dễ tìm lại 
4. Kết quả cuối cùng
Sau khi hì hục code và sửa một số lỗi, chúng ta sẽ có kết quả như hình bên dưới:
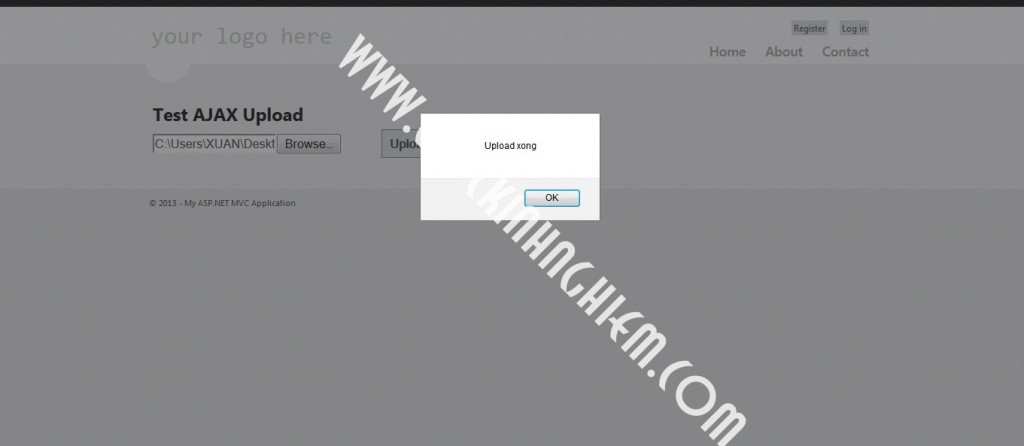
Code vui