Nodejs simple example
$ mkdir node crud Đi tới thu mục được tạo ra để xây dựng ứng dụng và khởi tạo package với lện npm init $ cd node crud $ npm init Thông tin ứng dụng như sau About to write to /home/chu.thien.tam/node crud/package.json: { "name": "manage-toy-crud", "version": "1.0.0", "description": ...
$ mkdir node crud
Đi tới thu mục được tạo ra để xây dựng ứng dụng và khởi tạo package với lện npm init
$ cd node crud
$ npm init
Thông tin ứng dụng như sau
About to write to /home/chu.thien.tam/node crud/package.json:

{
  "name": "manage-toy-crud",
  "version": "1.0.0",
  "description": "Using to manage list toy",
  "main": "server.js",
  "scripts": {
    "test": "echo "Error: no test specified" && exit 1"
  },
  "keywords": [
    "Nodejs",
    "Express",
    "MongoDB",
    "manage-toy"
  ],
  "author": "TamCT",
  "license": "ISC"
}
Như thông tin ứng dụng được tạo ở trên thì crud.js là entry point, tạo file crud.js với câu lệnh đơn giản
$ touch server.js
Để kiểm tra việc khởi tạo chúng ta thêm nội dung cho file server.js
console.log('Runing manage toy application ');
Bây giờ chạy lệnh nodejs server.js để kiểm tra
~/node crud$ nodejs server.js
Runing manage toy application
Chạy lệnh trong command line
npm install express --save
Bây giờ package.json thay đổi với phần thêm dependence cho express
{
  "name": "manage-toy-crud",
  "version": "1.0.0",
  "description": "Using to manage list toy",
  "main": "server.js",
  "scripts": {
    "test": "echo "Error: no test specified" && exit 1"
  },
  "keywords": [
    "Nodejs",
    "Express",
    "MongoDB",
    "manage-toy"
  ],
  "author": "TamCT",
  "license": "ISC",
  "dependencies": {
    "express": "^4.16.3"
  }
}
Bây giờ thay đổi nội dụng file server.js để sử dụng express
const express = require('express');
const app = express();
app.listen(8181, function() {
  console.log('listening on 8181')
})
Nhưng trước khi có thể lắng nghe từ Client chung ta cần phải định nghĩa các phương thức để lấy đường dẫn
CRUD - READ
Client sẽ gửi một GET request tới server để thực hiện đọc dữ liệu, Trong Express thì chúng ta sử dụng Get request với câu lệnh sau:
app.get(path, callback)
Đối số thứ nhất path là đường dẫn của GET request. Đối số thứ hai chính là call back function dùng để chỉ cho server biết chỗ làm những việc gì khi mà đường dẫn khớp , và sẽ có hai đối số cho function này là resquest và respond.
app.get('/', function (request, response) {
  // do something here
})
Bây giờ chúng ta sẽ ghi vài thứ khi thực hiện get ở đường dẫn mặc định này
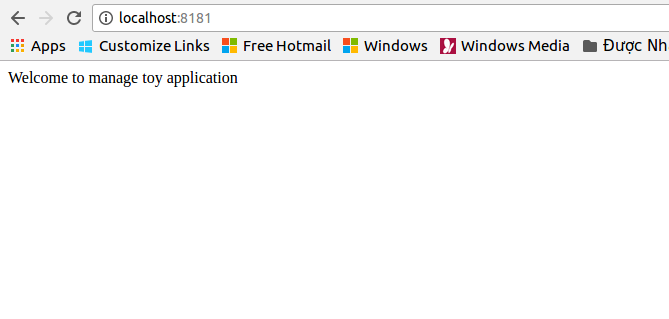
app.get('/', function(req, res) {
  res.send('Welcome to manage toy application')
})
Với ES6 chúng ta có thể ghi như sau
app.get('/', (req, res) => {
  res.send('Welcome to manage toy application')
})
Bây giờ khi vào đường dẫn localhost:8181 chúng ta sẽ nhận được nội dung như sau
Bây giờ chúng ta sẽ sử dụng file để gửi thông tin lại cho Client tạo 1 file html với tên là list.html với nội dung bao gồm tên và giá của sản phẩm
touch list.html
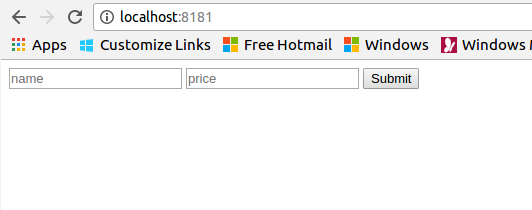
Chúng ta cũng tạo ra một form trong html fiel để thực hiện việc CREATE
<!DOCTYPE html>
<html lang="en">
<head>
  <meta charset="UTF-8">
  <title>Managa Toy</title>
</head>
<body>
  <form action="/create" method="POST">
  <input type="text" placeholder="name" name="name">
  <input type="text" placeholder="price" name="price">
  <button type="submit">Submit</button>
</form>
</body>
</html>
Bây giờ khi vào localhost:8181 thì sẽ hiển thị như sau
CRUD - READ
Bây giờ nếu muốn create dữ liệu từ client thì chúng ta phải lấy được dữ liệu từ form. Nhưng Express không đọc dữ liệu trực tiếp từ form mà cần phải thông qua 1 package là body-parser. Cài đặt body-parser với câu lệnh
$ npm install body-parser --save
và bây giờ chúng ta có thể sử dụng body-paser Thay đổi lại nội dung server.js như sau
const express = require('express');
const bodyParser= require('body-parser')
const app = express();
app.use(bodyParser.urlencoded({extended: true}))
app.get('/', (req, res) => {
  res.sendFile('/home/chu.thien.tam/node crud' + '/list.html')
})
app.post('/create', (req, res) => {
  console.log(req.body)
})
app.listen(8181, function() {
  console.log('listening on 8181')
})
chung ta thêm phương thức POST để cho đường dẫn localhot:8181/create
Cài đặt mongodb
npm install mongodb --save
Sau khi cài đặt chúng ta có thể liên kết với MongoDB thông qua MongoClient thông qua câu lệnh
const MongoClient = require('mongodb').MongoClient

MongoClient.connect('link-to-mongodb', (err, database) => {
  // ... start the server
})
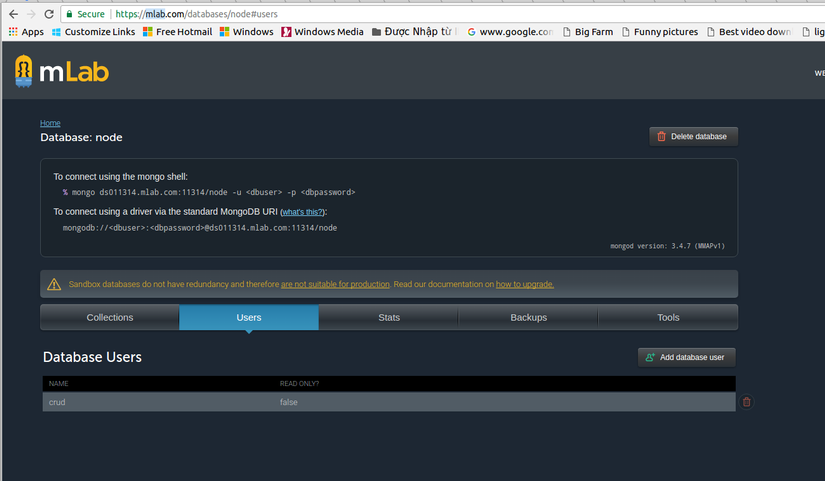
ở đây chúng ta sẽ sử dụng mlab để tạo database sau khi config thì cập nhật lại server.js như sau
const express = require('express');
const bodyParser= require('body-parser')
const app = express();
const MongoClient = require('mongodb').MongoClient


app.use(bodyParser.urlencoded({extended: true}))
app.get('/', (req, res) => {
  res.sendFile('/home/chu.thien.tam/node crud' + '/list.html')
});
app.post('/create', (req, res) => {
  console.log(req.body)
});

var db

MongoClient.connect("mongodb://crud:matkhau123456@ds011314.mlab.com:11314/node", {
    }, function(err, client) {
 	if (err) return console.log('loi: ' + err)
	db = client.db('crud')
	app.listen(8181, function() {
	  console.log('listening on 8181')
	})
    }
);
với MongoDb đã được tạo như sau, ở mlab thì chú ý sau khi tạo tài khoản xong thì chúng ta phải vào Tab Users để tạo database user, và thông tin user name và password trong đường dẫn chính là của database user.