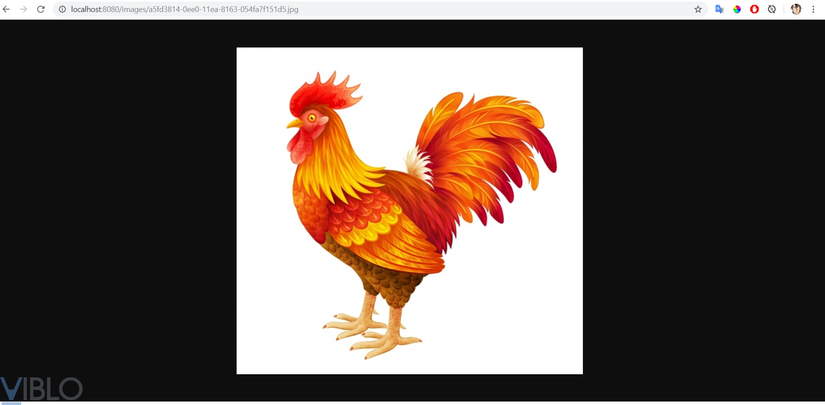
Hướng dẫn cài đặt Amazon Simple Storage Service (S3) trong Spring Boot
1. S3 Amazon là gì? Amazon S3 là dịch vụ lưu trữ đối tượng được xây dựng để lưu trữ và truy xuất dữ liệu với khối lượng bất kỳ từ bất cứ nơi nào trên Internet. Đây là dịch vụ lưu trữ đơn giản cung cấp hạ tầng lưu trữ dữ liệu có độ bền cực cao, độ khả dụng cao và quy mô vô cùng linh hoạt ...
1. S3 Amazon là gì?
Amazon S3 là dịch vụ lưu trữ đối tượng được xây dựng để lưu trữ và truy xuất dữ liệu với khối lượng bất kỳ từ bất cứ nơi nào trên Internet. Đây là dịch vụ lưu trữ đơn giản cung cấp hạ tầng lưu trữ dữ liệu có độ bền cực cao, độ khả dụng cao và quy mô vô cùng linh hoạt với chi phí rất thấp.
2. Tạo S3 bucket
Bạn truy cập link sau để tiến hành tạo bucket
https://s3.console.aws.amazon.com/s3/home?region=us-west-2
Click create bucket
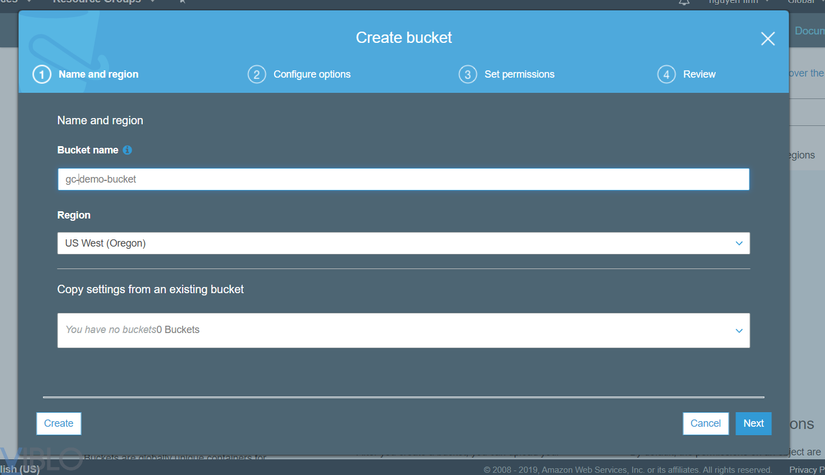
Điền tên bucket và region sau đó lựa chọn các setting config ở các step để hoàn thành việc tạo bucket

3. Cài đặt môi trường trước khi code
Để cài đặt code trong project ta cần có các properties sau:
a. Nếu chạy ở một môi trường server thông thường hoặc ở local máy của bạn:
accessKey
secretKey
region
bucketName
b. Nếu chạy ở môi trường aws như EC2:
region
bucketName
Ở bài viết này mình sẽ hướng dẫn bạn chạy ở môi trường local máy để tiến hành test nhé.
Bước 1: Lấy accessKey và secretKey
Bạn vào My Security Credential
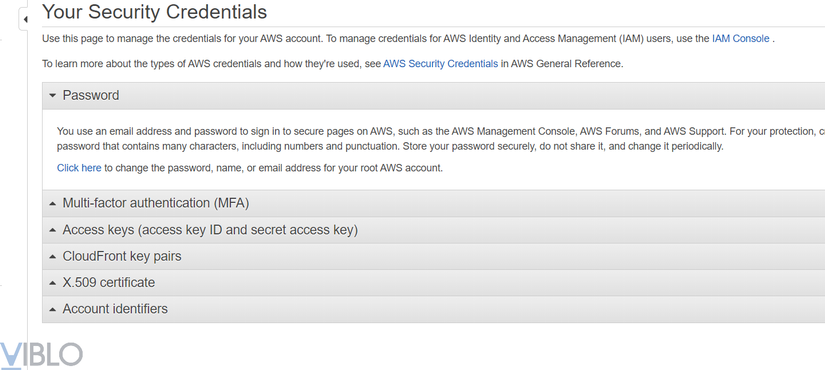
Và tiến hành tạo như bình thường. Kết quả là export được một file .csv
Bước 2: Cài đặt AWS Command Line Interface (CLI)
Link: https://aws.amazon.com/vi/cli/
Như máy của mình là windows 64bit. Mình sẽ download một file .msi về và tiến hành cài đặt như thông thường
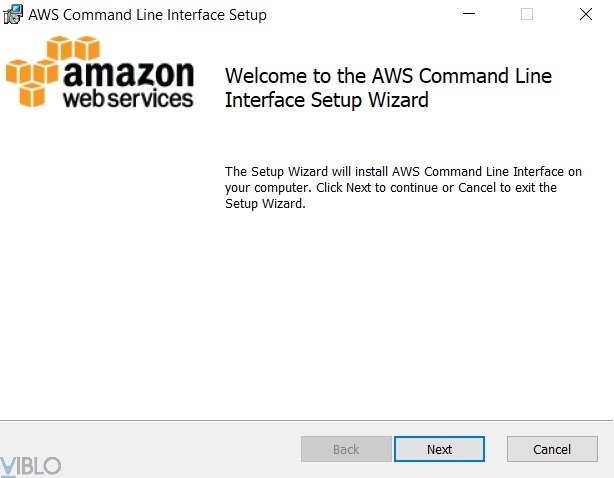
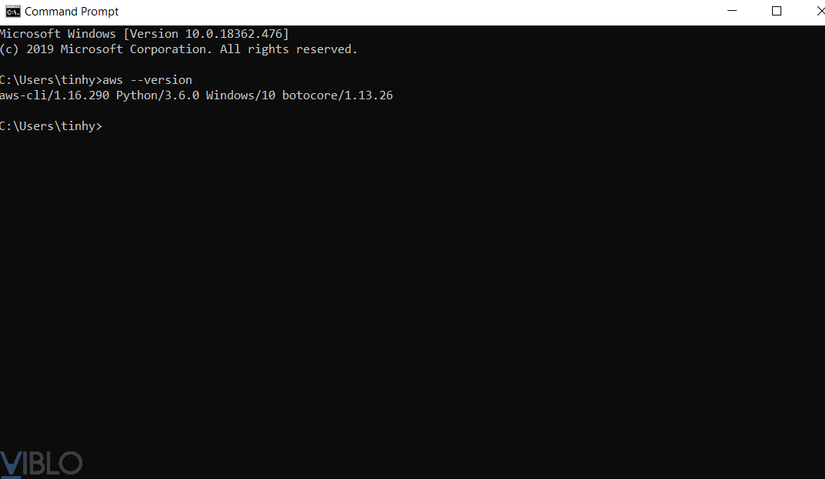
Sau khi cài xong, chỉ với một lệnh aws --version bạn sẽ kiểm tra mình đã cài đặt xong chưa.
Bước 3: Thêm secret key, access key, region, output format vào aws configure
Vào Command Prompt gõ lệnh aws configure
Và tiến hành điền đầy đủ thông tin
Để xem region. Bạn có thể xem list define ở đây https://docs.aws.amazon.com/AmazonRDS/latest/UserGuide/Concepts.RegionsAndAvailabilityZones.html
Còn về output format. Mình chọn là json
4. Cài đặt code trong spring boot
Bước 1:
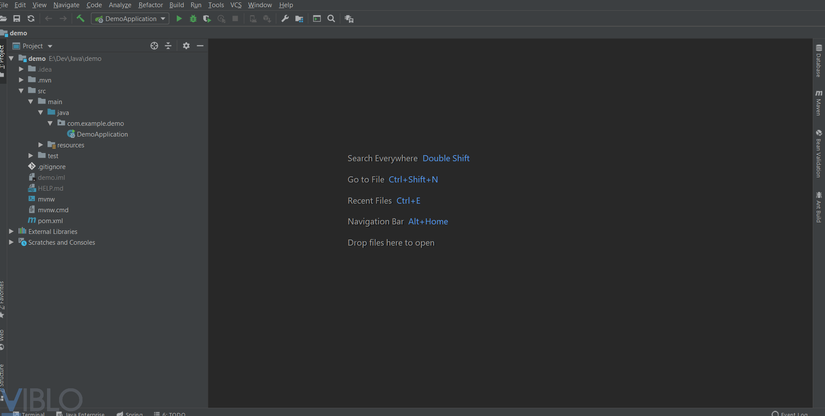
Tạo một project Spring Boot demo
Bước 2: Thêm SDK
<dependency>
   <groupId>com.amazonaws</groupId>
   <artifactId>aws-java-sdk</artifactId>
   <version>1.11.163</version>
</dependency>
*) Các file code
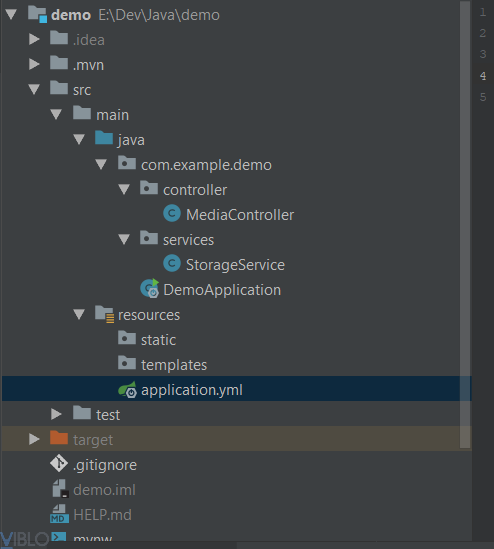
Cấu trúc project demo:
*) Các file
a. application.yml
amazonProperties:
 region: us-west-2
 s3:
   bucketName: gc-demo-bucket
b. DemoApplication
@SpringBootApplication
public class DemoApplication {

   public static void main(String[] args) {
       SpringApplication.run(DemoApplication.class, args);
   }

}
c. StorageService
@Service
public class StorageService {
   private static final String JPG_EXTEND_FILE = ".jpg";
   public static String CONTENT_TYPE_IMAGE = "image/jpg";

   public static String IMAGE_URL_PATH_RESOURCE = "medias/images/"; //Path follow path controller -> using constants

   public static CharSequence CONDITION_IS_IMAGE = "image/";

   private AmazonS3 s3client;

   @Value("${amazonProperties.region}")
   private String region;

   @Value("${amazonProperties.s3.bucketName}")
   private String bucketName;

   @PostConstruct
   private void initializeAmazon() {
       this.s3client = AmazonS3ClientBuilder
               .standard()
               .withRegion(Regions.fromName(region))
               .build();
   }

   public String saveFile(MultipartFile multipartFile) {
       String fileName = Generators.timeBasedGenerator().generate().toString() + JPG_EXTEND_FILE;
       String filePathS3 = IMAGE_URL_PATH_RESOURCE + fileName;
       try {
           InputStream inputStream = multipartFile.getInputStream();

           byte[] contents = IOUtils.toByteArray(inputStream);
           InputStream stream = new ByteArrayInputStream(contents);

           ObjectMetadata meta = new ObjectMetadata();
           meta.setContentLength(contents.length);
           meta.setContentType(CONTENT_TYPE_IMAGE);

           s3client.putObject(new PutObjectRequest(
                   bucketName, filePathS3, stream, meta)
                   .withCannedAcl(CannedAccessControlList.BucketOwnerFullControl));

           inputStream.close();
       } catch (Exception e) {
           e.printStackTrace();
       }
       return filePathS3;
   }

   public byte[] getImage(String nameImage) {
       try {
           S3Object s3object = s3client.getObject(bucketName, IMAGE_URL_PATH_RESOURCE + nameImage);
           S3ObjectInputStream inputStream = s3object.getObjectContent();
           return IOUtils.toByteArray(inputStream);
       } catch (IOException e) {
           e.printStackTrace();
       }
       return null;
   }
}
d. MediaController
@RestController
public class MediaController {
   @Autowired
   private StorageService storageService;

   @PostMapping("/upload-image")
   public ResponseEntity uploadImage(@RequestParam("file") MultipartFile file) {
       return ResponseEntity.ok(storageService.saveFile(file));
   }

   @GetMapping("/images/{name_image}")
   public ResponseEntity<byte[]> getImage(@PathVariable("name_image") String nameImage) {
       return ResponseEntity.ok()
               .contentType(MediaType.valueOf(StorageService.CONTENT_TYPE_IMAGE))
               .body(storageService.getImage(nameImage));
   }
}
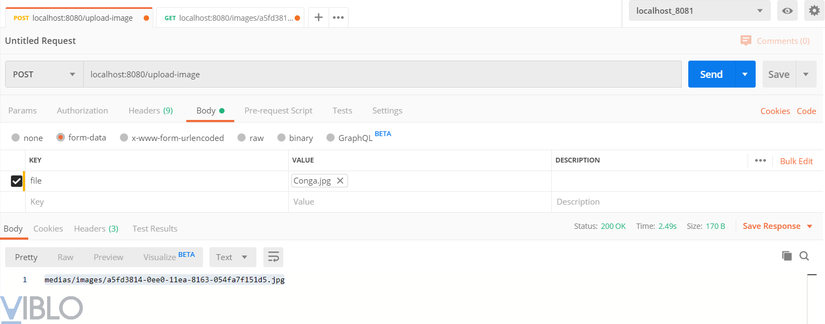
*) Kết quả chạy postman
Call API upload image
Call API get image
