Image manipulation with Carrierwave and MiniMagick
I used to talk about using image in web page in my previous article about Image Responsive. The article is talking about the important role of image in web page nowaday, it also give you some technique of using image effectively. The article is focus on using image for improving web frontend, ...

I used to talk about using image in web page in my previous article about Image Responsive. The article is talking about the important role of image in web page nowaday, it also give you some technique of using image effectively. The article is focus on using image for improving web frontend, but how do we generate those images?
Therefore, in this aticle I am going write about the script which use to generate those kind of images. And I am going to use Carrierwave and minimagick gem for image file upload and generate thos image.
1. Let's get start
I am going to use project source code form my previous article Let's Build Rails API. Now let's add Carrierwave gem to our project.
# Gemfile
gem 'mini_magick'
gem 'carrierwave'
and than
bundle install
let's run rails migrateion to add picture column into our plants table.
rails g migration add_picture_to_plants picture:string
rake db:migrate
Now let's generate our upload picture file
rails generate uploader Picture
in app/uploaders/picture_uploader.rb uncomment include CarrierWave::MiniMagick and add into our model
class Plant < ActiveRecord::Base
  mount_uploader :picture, PictureUploader
end
2. Let's write script for manipulation our picture
In this article I am going to show two awesome feature which provided by mini_magic gem. However, there are lots more feature which you can check it out on it official homepage here.
-
resizing
in my article Image Responsive it recommend you to use difference size of image with the difference kind of devices for improving web performance. Thankfully, mini_magic allow you to resize the to any side you want to by using methods #resize_and_pad, #resize_to_fill, resize_to_fit, or #resize_to_limit and you can learn more about these methods from here. Now let's write the script for our project
      version :mobile do
        process :resize_to_limit => [480, 480]
      end

      version :tablet do
        process :resize_to_limit => [768, 768]
      end

      version :desktop do
        process :resize_to_limit => [1024, 1024]
      end
-
add text onto our picture
Sometime, we want to have a text on our images when we upload image into our server, so we can do that with mini_magic. and here how we do it:
      def add_text
        manipulate! do |image|
          image.combine_options do |c|
            c.gravity 'Center'
            c.pointsize '80'
            c.annotate('+0+0', "Plant lover")
            c.fill 'grey'
          end
          image
        end
      end
For more option you can find more from [here](https://github.com/minimagick/minimagick)
3.Let's test
Update our seed data
def seed_image(file_name)
  File.open(
    File.join(Rails.root, "/app/assets/images/seed/#{file_name}.jpg")
  )
end

20.times do |n|
  Plant.create! name: "sample tree name #{n}",
               scientific_name: "sample tree scientific name #{n}",
               description: "sample tree description #{n}",
               picture: seed_image("plant_sample")
end
than run
 rake db:seed
 rails s
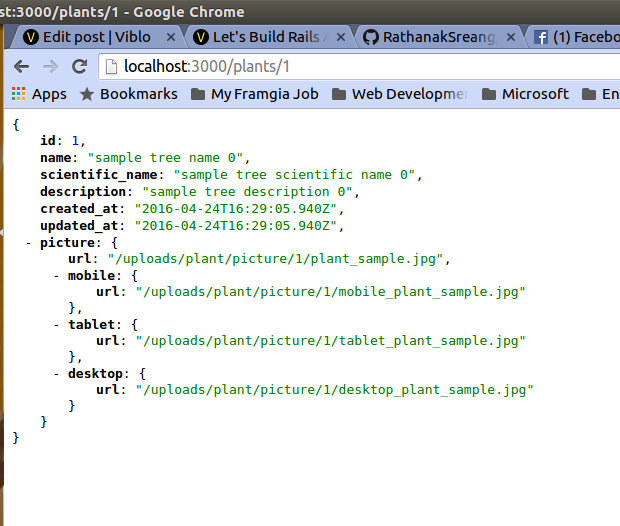
 curl -X GET http://localhost:3000/plants/1
and now we should get three differences version of picture url and its original url:

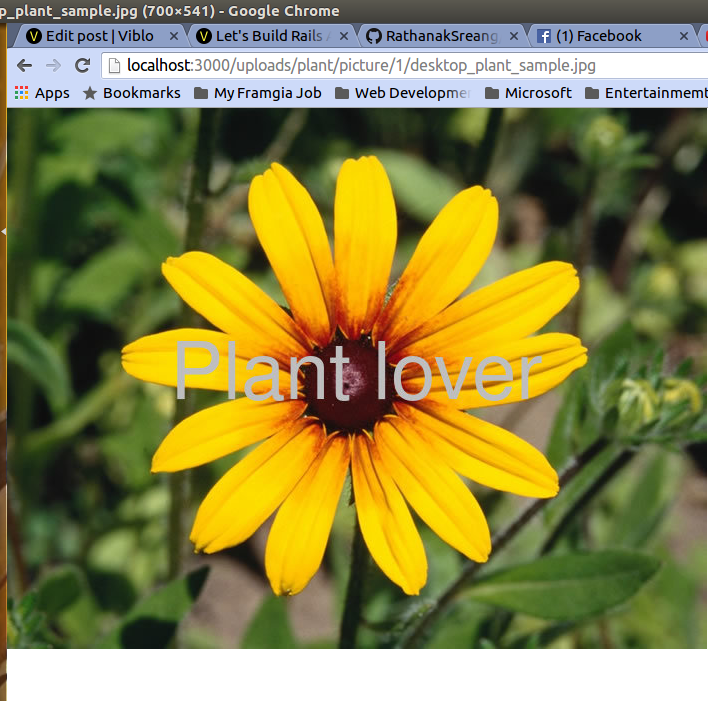
and let's check one of those picture url:

it works!
