Animation với CALayer
CALayer đại diện cho một hình chữ nhật có thể nhìn thấy được trên UI. Mỗi UIView đều có một layer. CALayer *myLayer = myView.layer; Với một layer bạn có thể làm rất nhiều thứ như - Đổi background color - Bo góc - Thêm shadow Giải thích giới thiệu dài dòng quá. Nói chung là ...
CALayer đại diện cho một hình chữ nhật có thể nhìn thấy được trên UI.
Mỗi UIView đều có một layer.
CALayer *myLayer = myView.layer;
Với một layer bạn có thể làm rất nhiều thứ như
- Đổi background color
- Bo góc
- Thêm shadow
Giải thích giới thiệu dài dòng quá. Nói chung là hôm nay mình muốn hướng dẫn làm một animation đơn giản với CALayer. Vậy nhé ![]()
Chuẩn bị :
- Tạo một Single View Application project
- Đặt một cái tên bất kì, ngôn ngữ Objective-C. Swift cũng được nhưng mình làm Objective-C
- Trong Storyboard, thêm một UIView vào giữa màn hình kích thước 200x200 nhé
- Kéo outlet cho view đó vào ViewController
Vậy là xong các bước chuẩn bị.
Bắt đầu code nào.
Ở ViewController, viewDidLoad
- (void)viewDidLoad {
    [super viewDidLoad];

    CGFloat radius = 75; // Bán kính của layer
    CGPoint centerPoint = CGPointMake(CGRectGetWidth(self.animationView.frame) / 2, CGRectGetHeight(self.animationView.frame) / 2); // tâm điểm

    // Tạo một layer để vẽ animation
    CAShapeLayer *circleLayer = [CAShapeLayer layer];
    circleLayer.path = [UIBezierPath bezierPathWithArcCenter:centerPoint
                                                      radius:radius
                                                  startAngle:0
                                                    endAngle:2*M_PI
                                                   clockwise:YES].CGPath;
    // Thiết lập các thuộc tính cho layer
    circleLayer.fillColor = [UIColor clearColor].CGColor;
    circleLayer.strokeColor = [UIColor orangeColor].CGColor;
    circleLayer.lineWidth = 10;
    circleLayer.lineCap = kCALineCapRound;
    circleLayer.shouldRasterize = YES;

    // Add circleLayer vào animationView
    [self.animationView.layer addSublayer:circleLayer];
}
UIBezierPath là một cách rất tiện lợi để vẽ hình hoặc vẽ đường trong layer. Các bạn có thể tìm hiểu thêm các method khác của nó.
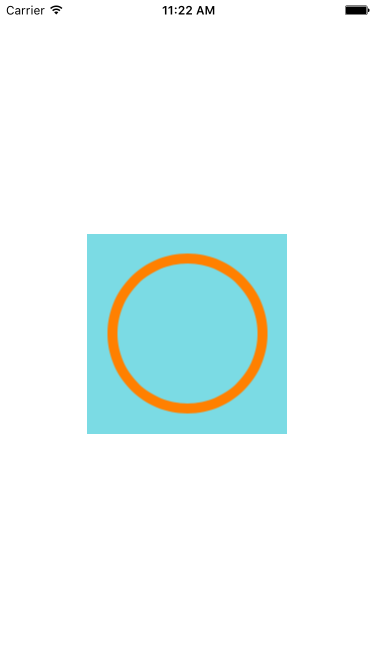
Đây là kêt quả sau khi tạo layer

Tiếp theo là add animation vào layer
Cũng trong viewDidLoad
- (void)viewDidLoad {
    //....
    // Thiết lập các thuộc tính của animation
    CABasicAnimation *drawAnimation = [CABasicAnimation animationWithKeyPath:@"strokeEnd"];
    drawAnimation.duration            = 2.0;
    drawAnimation.repeatCount         = 1.0;

    drawAnimation.fromValue = [NSNumber numberWithFloat:0.0f];
    drawAnimation.toValue   = [NSNumber numberWithFloat:1.0f];

    // Thuộc tính về timing: đều, nhanh dần đều, chậm dần đều
    drawAnimation.timingFunction = [CAMediaTimingFunction functionWithName:kCAMediaTimingFunctionEaseInEaseOut];

    // Thêm animation vào layer
    [circleLayer addAnimation:drawAnimation forKey:@"drawCircleAnimation"];
}
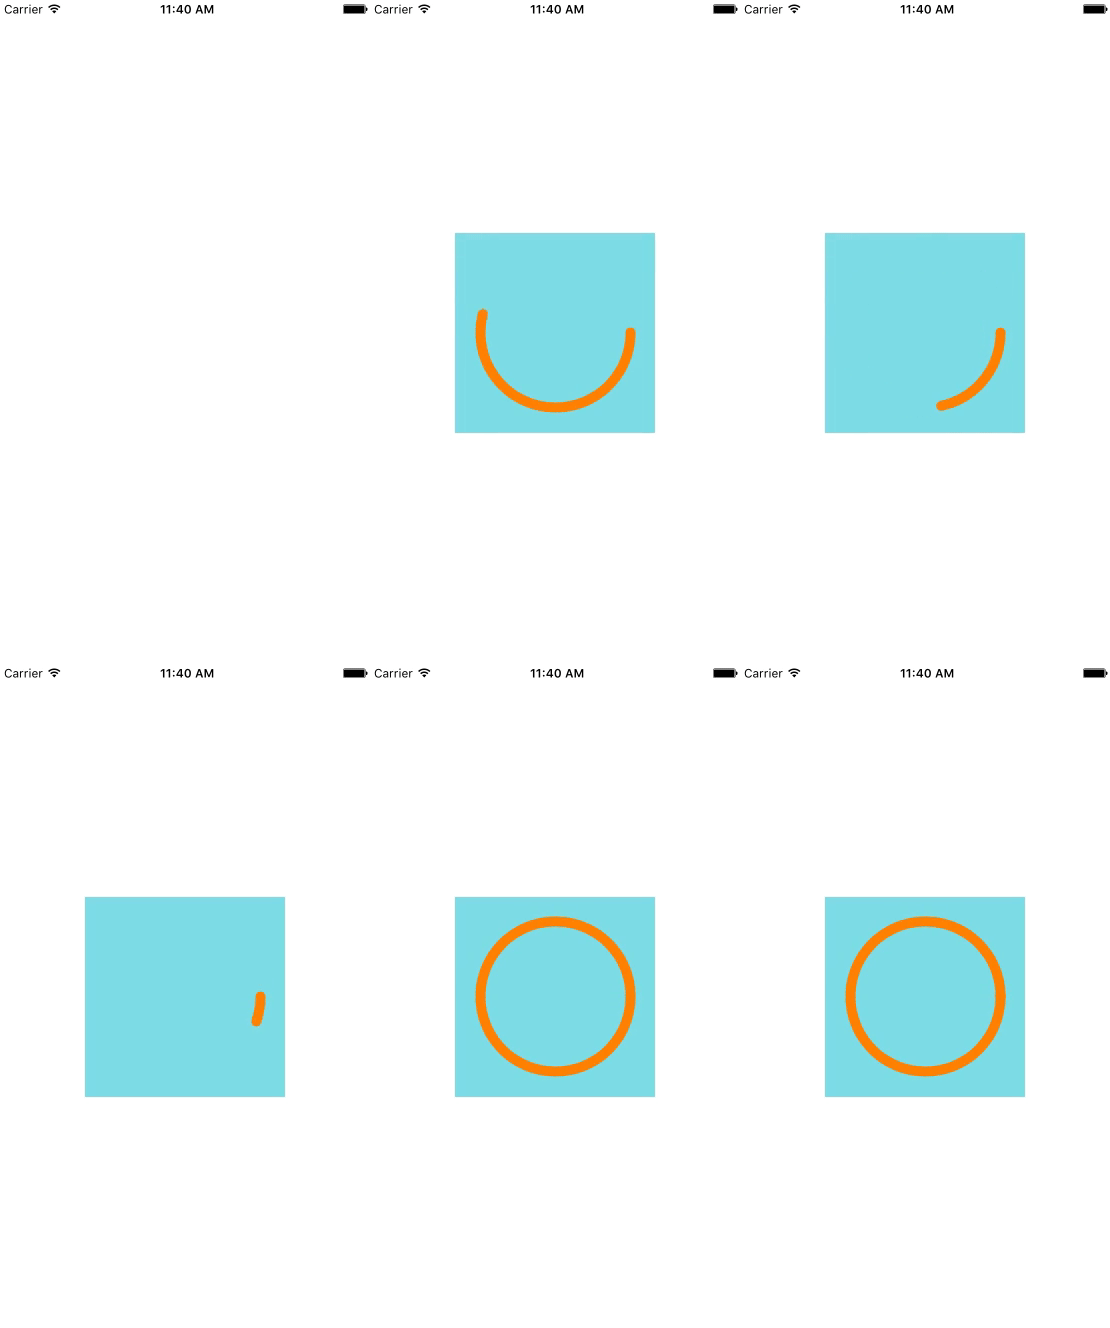
Đây là hình ảnh sau khi add animation
Việc vẽ hình tròn đã xong. Để thêm phần hoành tráng các bạn có thể add thêm một animation nữa. Add đoạn code sau ngay phía dưới drawAnimation
- (void)viewDidLoad {
    //....
    // Tạo animation
    CAKeyframeAnimation *colorsAnimation = [CAKeyframeAnimation animationWithKeyPath:@"strokeColor"];

    // Tạo mảng màu cho animation.
    colorsAnimation.values = @[
                               (id)[UIColor greenColor].CGColor,
                               (id)[UIColor yellowColor].CGColor,
                               (id)[UIColor orangeColor].CGColor,
                               (id)[UIColor redColor].CGColor,
                               ];
    colorsAnimation.calculationMode = kCAAnimationPaced;
    colorsAnimation.removedOnCompletion = NO;
    colorsAnimation.fillMode = kCAFillModeForwards;
    colorsAnimation.duration = 2;
    colorsAnimation.repeatCount = 1;

    // Thêm animation vào layer
    [circleLayer addAnimation:colorsAnimation forKey:@"strokeColor"];
}
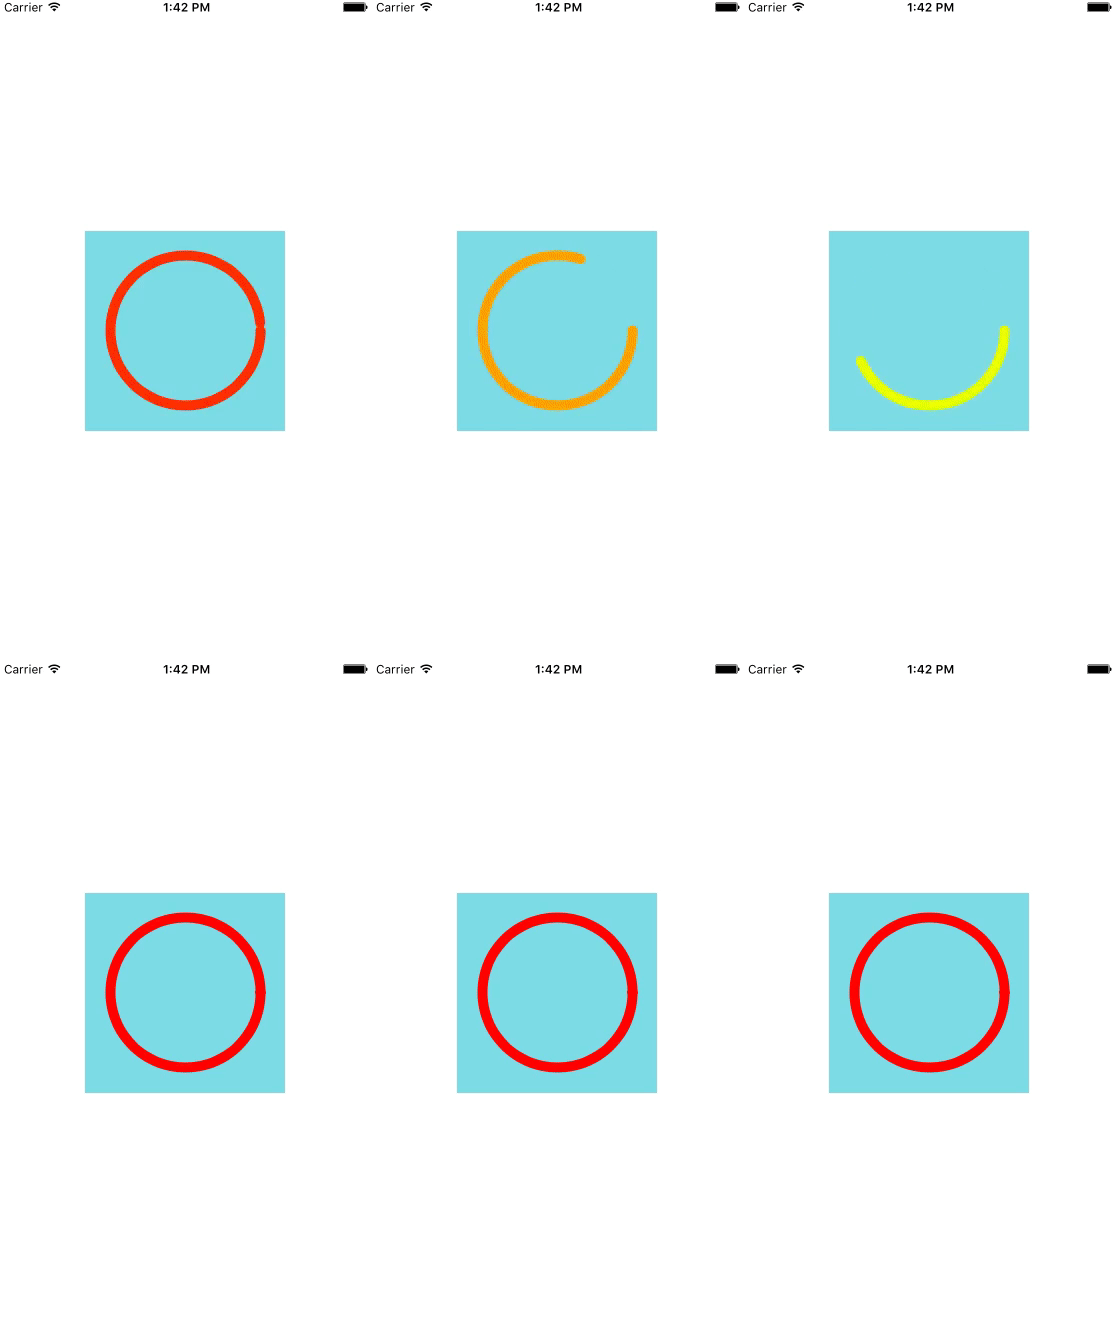
Và đây là kết quả cuối cùng
Và đây là phần cuối cùng cũng là mục đích chính của việc mình làm cái hướng dẫn này. Một custom view mình viết có ứng dụng animation trên. Bạn nào có nhã hứng thì vào rate cho mình phát. Xin cám ơn hehe.
Cocoa Control:
https://www.cocoacontrols.com/controls/kncirclepercentview
GitHub:
https://github.com/knn90/KNCirclePercentView
