Học React Native từ cơ bản đến nâng cao - Phần 2: Khái niệm cơ bản trong React Native và 1 số chia sẻ cá nhân
Trong phần này tôi sẽ giúp các bạn mới học React Native hiểu qua phần cài đặt project đã tồn tại và cùng nhau tìm hiểu khái niệm cơ bản nhất của React Native. 1. Yêu cầu thứ 1 Yêu cầu để thực hiện theo bài viết này, bạn hãy cài đặt môi trường theo bài viết dưới đây Học React Native từ cơ bản ...
Trong phần này tôi sẽ giúp các bạn mới học React Native hiểu qua phần cài đặt project đã tồn tại và cùng nhau tìm hiểu khái niệm cơ bản nhất của React Native.
1. Yêu cầu thứ 1
Yêu cầu để thực hiện theo bài viết này, bạn hãy cài đặt môi trường theo bài viết dưới đây
Học React Native từ cơ bản đến nâng cao - Phần 1 Hướng dẫn cài đặt và chạy "Hello world"
2. Yêu cầu thứ 2
Khi muốn code React Native bạn sẽ phải chọn cho mình 1 Editors phù hợp cho mình
Bạn có thể tham khảo các Editors theo link dưới đây
Top 10 Editors For React Native Mobile App Development
Còn lựa chọn của tôi là Visual Studio Code vì đơn giản là dùng khá nhẹ và tiện dụng
Nếu bạn cũng chọn Visual Studio Code như tôi thì tiếp tục cài các Extension theo bài viết dưới đây để giúp việc code React Native trở nên dễ dàng hơn
VSCode for React Native:
https://medium.com/react-native-training/vscode-for-react-native-526ec4a368ce
3. Yêu cầu thứ 3
Kéo code ví dụ React Native về máy bạn:
-
Bạn mở terminal
git clone https://github.com/oTranThanhNghia/LearnReactNative.git
-
Khi đã kéo code về xong vào trong folder LearnReactNative mà vừa kéo về
gõ lệnh sau để cấu hình project: npm install react-native@0.55.4
-
Cấu hình lại Android SDK trong file local.properties trong folder của Android LearnReactNativeandroid ở như sau:
sdk.dir=D:AndroidSdk
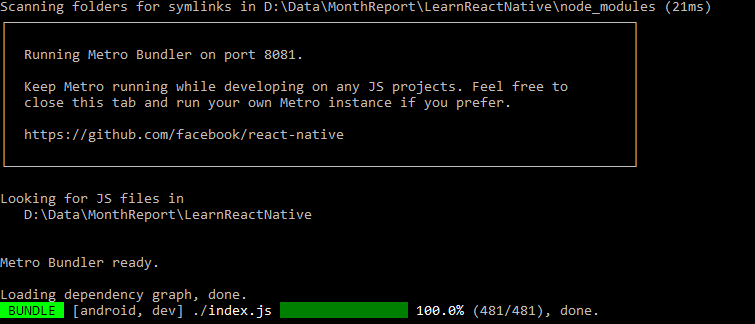
- Chạy android gõ: react-native run-android Khi nào terminal hiển thị là bạn đã thành công.
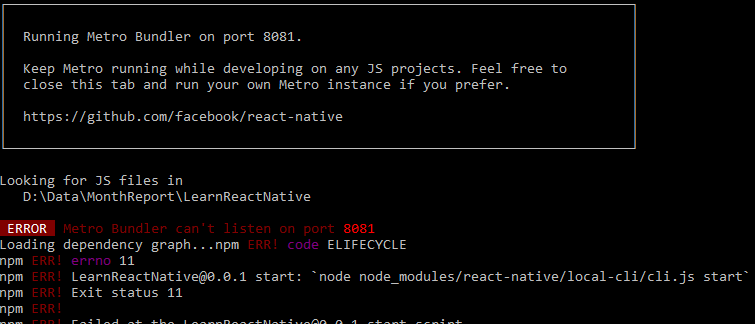
Nếu bạn gặp phải lỗi sau thì hãy kiểm tra lại port 8081 có đang sử dụng không. Nếu có thì tắt nó đi và gõ lại lệnh npm start để khởi động lại Metro Bundler
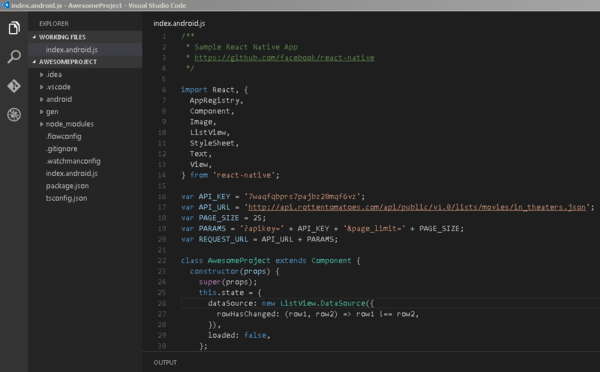
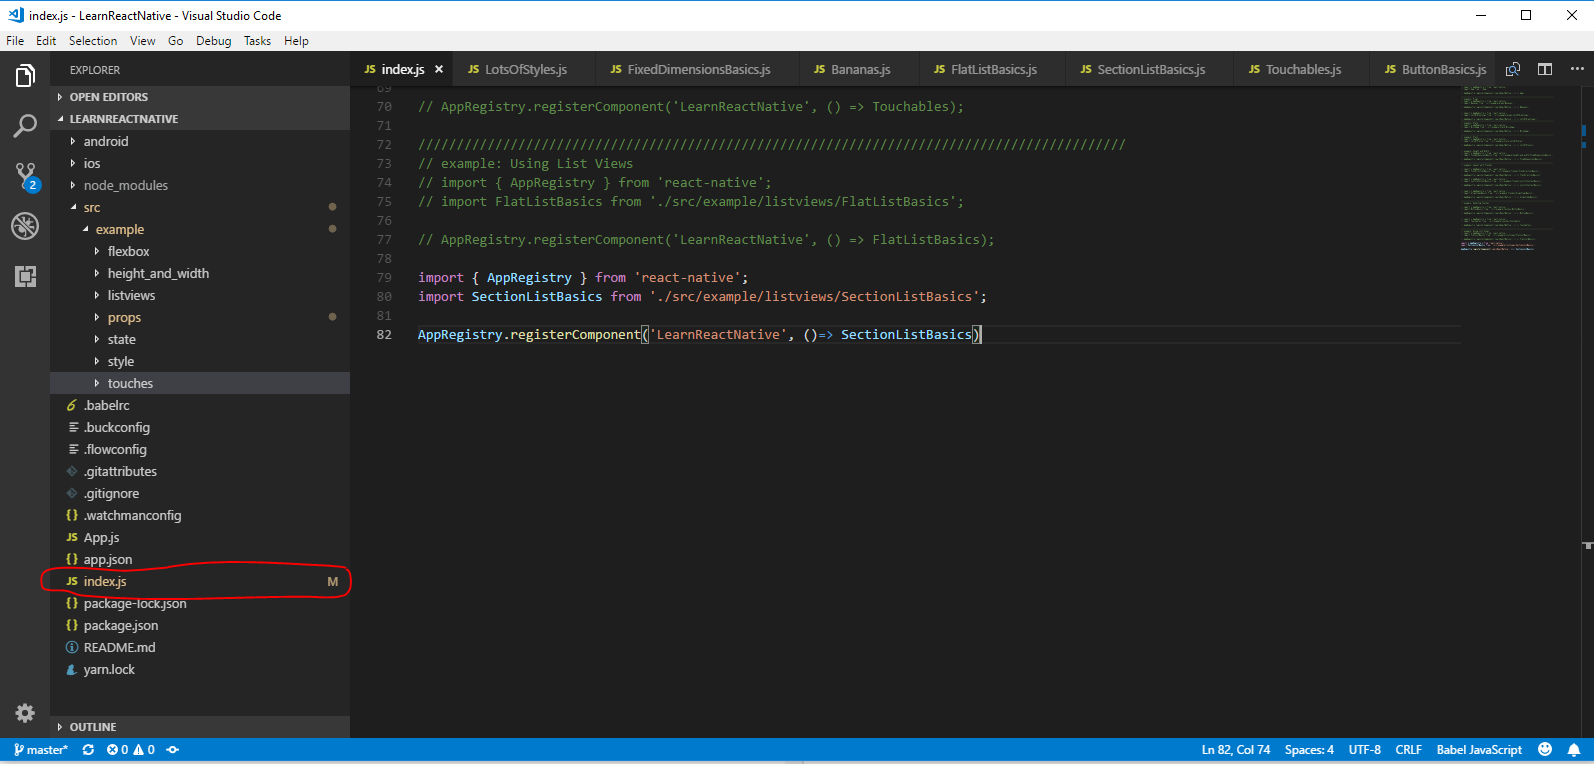
- Ngoài ra bạn hãy vào index.js để chọn example để chạy nhé:
1. Props
Hầu hết các thành phần có thể custom được khi được tạo ra với các tham số khác nhau. Các tham số này được gọi là props Ví dụ về Image sẽ giúp bạn sử dụng prop source để hiển thị ảnh
import React, {Component} from 'react';
import {Image} from 'react-native';

export default class Bananas extends Component {
    render() {
      let pic = {
        uri: 'https://upload.wikimedia.org/wikipedia/commons/d/de/Bananavarieties.jpg'
      };
      return (
        <Image source={pic} style={{awidth: 193, height: 110}}/>
      );
    }
}

Components bạn viết ra cũng có thể sử dụng props. Ví dụ dưới đây sẽ mô tả cách sử dụng props trong Component riêng biệt
import React, { Component } from 'react';
import { Text, View } from 'react-native';

class Greeting extends Component {
  render() {
    return (
      <Text>Hello {this.props.name}!</Text>
    );
  }
}

export default class LotsOfGreetings extends Component {
  render() {
    return (
      <View style={{alignItems: 'center'}}>
        <Greeting name='Rexxar' />
        <Greeting name='Jaina' />
        <Greeting name='Valeera' />
      </View>
    );
  }
}
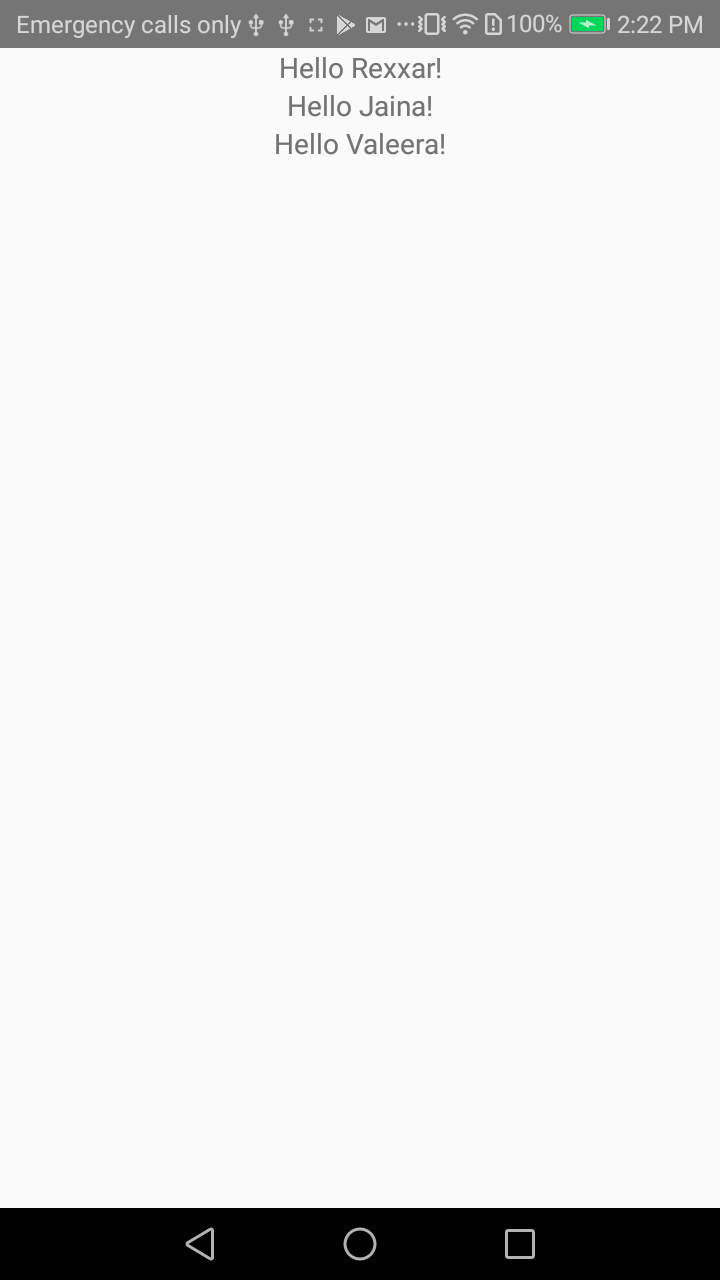
Sử dụng prop name giúp bạn có thể custom Greeting component 1 cách dễ dàng và giúp tái sử dụng lại component ở nhiều nơi
2. State
Trong khi props là không thể thay đổi thì state là kiểu dữ liệu có thể update được trong tương lai
Nghe có vẻ khó hiểu nhưng bạn xem ví dụ dưới đây cho rõ ràng
import React, { Component } from 'react';
import { Text, View } from 'react-native';

class Blink extends Component {
  constructor(props) {
    super(props);
    this.state = {isShowingText: true};

    // Toggle the state every second
    setInterval(() => {
      this.setState(previousState => {
        return { isShowingText: !previousState.isShowingText };
      });
    }, 1000);
  }

  render() {
    let display = this.state.isShowingText ? this.props.text : ' ';
    return (
      <Text>{display}</Text>
    );
  }
}

export default class BlinkApp extends Component {
  render() {
    return (
      <View>
        <Blink text='I love to blink' />
        <Blink text='Yes blinking is so great' />
        <Blink text='Why did they ever take this out of HTML' />
        <Blink text='Look at me look at me look at me' />
      </View>
    );
  }
}
Trong demo ở trên là ví dụ về sau 1 giây sẽ nhấp nháy chữ.
Trong đó:
- props: text trong Blink component
- state: isShowingText là cờ để hiển thị
3. Style
Style sẽ gợi nhắc các bạn nghĩ ngay đến style của Web. Tất cả cấu trúc, biến, giá trị hầu hết đều giống với CSS Bạn hãy xem ví dụ dưới đây
import React, { Component } from 'react';
import { StyleSheet, Text, View } from 'react-native';

export default class LotsOfStyles extends Component {
  render() {
    return (
      <View>
        <Text style={styles.red}>just red</Text>
        <Text style={styles.bigblue}>just bigblue</Text>
        <Text style={[styles.bigblue, styles.red]}>bigblue, then red</Text>
        <Text style={[styles.red, styles.bigblue]}>red, then bigblue</Text>
      </View>
    );
  }
}

const styles = StyleSheet.create({
  bigblue: {
    color: 'blue',
    fontWeight: 'bold',
    fontSize: 30,
  },
  red: {
    color: 'red',
  },
});
Trong đó:
- set 1 phần tử: style={styles.red}
- set 2 phần tử trở lên sẽ phải để trong [] ví dụ như style={[styles.red, styles.bigblue]}
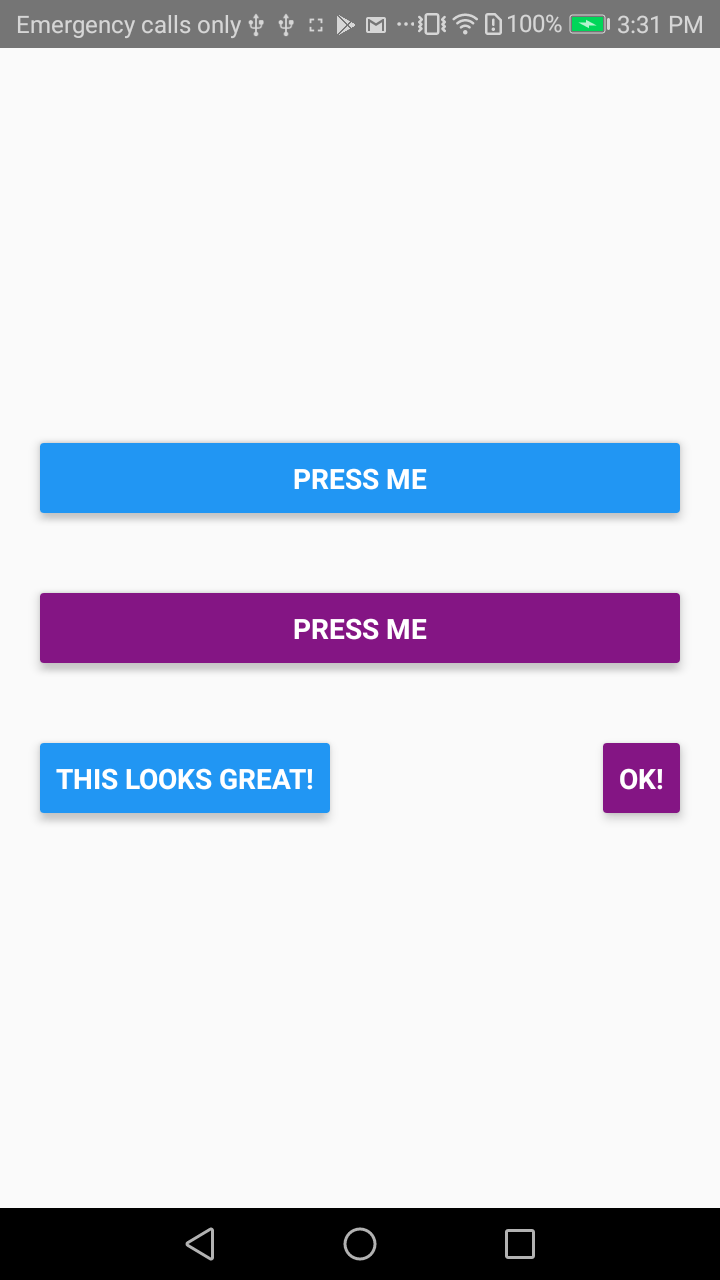
4. Handling Touches
Các phần trên là mới chỉ đáp ứng được việc hiển thị lên app. Còn trong phần này sẽ giúp cho User tương tác được với App. Đơn giản nhất là sự kiện click vào 1 nút
Để dễ dàng nhất bạn hãy dùng cấu trúc như sau:
<View>
    <Button
     onPress={callFunction}
     />
</View>
Để chi tiết hơn nữa bạn xem ví dụ sau:
import React, { Component } from 'react';
import { Alert, Button, StyleSheet, View } from 'react-native';

export default class ButtonBasics extends Component {
  _onPressButton() {
    Alert.alert('You tapped the button!')
  }

  render() {
    return (
      <View style={styles.container}>
        <View style={styles.buttonContainer}>
          <Button
            onPress={this._onPressButton}
            title="Press Me"
          />
        </View>
        <View style={styles.buttonContainer}>
          <Button
            onPress={this._onPressButton}
            title="Press Me"
            color="#841584"
          />
        </View>
        <View style={styles.alternativeLayoutButtonContainer}>
          <Button
            onPress={this._onPressButton}
            title="This looks great!"
          />
          <Button
            onPress={this._onPressButton}
            title="OK!"
            color="#841584"
          />
        </View>
      </View>
    );
  }
}

const styles = StyleSheet.create({
  container: {
   flex: 1,
   justifyContent: 'center',
  },
  buttonContainer: {
    margin: 20
  },
  alternativeLayoutButtonContainer: {
    margin: 20,
    flexDirection: 'row',
    justifyContent: 'space-between'
  }
})
5. List Views
React Native cung cấp 2 loại view để hiển thị list. Đó là: FlatList và SectionList
FlatList làm việc khá tốt và mượn mà với những list dài, số lượng item có thể thay đổi được. Không giống như ScrollView thì FlatList chỉ render những thành phần nào được hiển thị trên màn hình, chứ không phải là hiển thị tất cả các thành phần trong List lên cùng 1 lúc.
FlatList yêu cầu 2 props cơ bản: datavà renderItem Trong đó:
- data là dữ liệu để hiển thị lên list
- renderItem là cách trình bày, màu, font, cỡ chữ trên ứng dụng
Ví dụ:
import React, { Component } from 'react';
import { FlatList, StyleSheet, Text, View } from 'react-native';

export default class FlatListBasics extends Component {
  render() {
    return (
      <View style={styles.container}>
        <FlatList
          data={[
            {key: 'Devin'},
            {key: 'Jackson'},
            {key: 'James'},
            {key: 'Joel'},
            {key: 'John'},
            {key: 'Jillian'},
            {key: 'Jimmy'},
            {key: 'Julie'},

            {key: 'Devin1'},
            {key: 'Jackson1'},
            {key: 'James1'},
            {key: 'Joel1'},
            {key: 'John1'},
            {key: 'Jillian1'},
            {key: 'Jimmy1'},
            {key: 'Julie1'},

            {key: 'Devin2'},
            {key: 'Jackson2'},
            {key: 'James2'},
            {key: 'Joel2'},
            {key: 'John2'},
            {key: 'Jillian2'},
            {key: 'Jimmy2'},
            {key: 'Julie2'},
          ]}
          renderItem={({item}) => <Text style={styles.item}>{item.key}</Text>}
        />
      </View>
    );
  }
}

const styles = StyleSheet.create({
  container: {
   flex: 1,
   paddingTop: 22
  },
  item: {
    padding: 10,
    fontSize: 18,
    height: 44,
  },
})

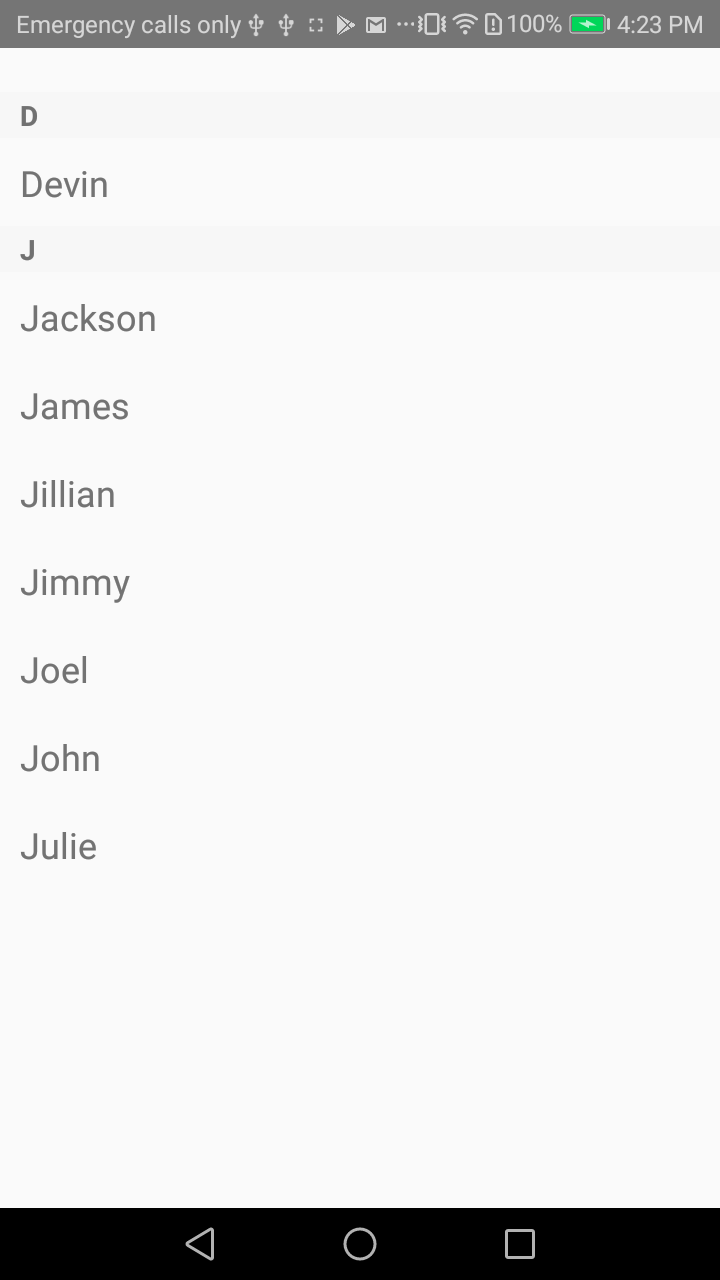
Nếu bạn muốn chia list hiển thị thành các nhóm khác nhau thì React Native cũng cung cấp cho bạn SectionList để làm việc này
Ví dụ:
import React, { Component } from 'react';
import { SectionList, StyleSheet, Text, View } from 'react-native';

export default class SectionListBasics extends Component {
  render() {
    return (
      <View style={styles.container}>
        <SectionList
          sections={[
            {title: 'D', data: ['Devin']},
            {title: 'J', data: ['Jackson', 'James', 'Jillian', 'Jimmy', 'Joel', 'John', 'Julie']},
          ]}
          renderItem={({item}) => <Text style={styles.item}>{item}</Text>}
          renderSectionHeader={({section}) => <Text style={styles.sectionHeader}>{section.title}</Text>}
          keyExtractor={(item, index) => index}
        />
      </View>
    );
  }
}

const styles = StyleSheet.create({
  container: {
   flex: 1,
   paddingTop: 22
  },
  sectionHeader: {
    paddingTop: 2,
    paddingLeft: 10,
    paddingRight: 10,
    paddingBottom: 2,
    fontSize: 14,
    fontWeight: 'bold',
    backgroundColor: 'rgba(247,247,247,1.0)',
  },
  item: {
    padding: 10,
    fontSize: 18,
    height: 44,
  },
})
Chúc bạn chạy được example mà không gặp phải lỗi nào nhé. Nếu có vấn đề gì thì bạn có thể comment dưới đây để mình support nhé
Nguồn tham khảo: https://facebook.github.io/react-native/docs/tutorial.html
