Component trong Angular 4 - Angular4
Phần lớn quá trình phát triển ứng dụng Angular 4 là sử dụng components. Components (hay thành phần) là những class cơ bản tương tác với file html. Có một component cơ bản luôn được tạo ra khi tạo mới project là AppComponent. 1. Thành phần cha AppComponent Trong bài trước, khi ...
Phần lớn quá trình phát triển ứng dụng Angular 4 là sử dụng components. Components (hay thành phần) là những class cơ bản tương tác với file html. Có một component cơ bản luôn được tạo ra khi tạo mới project là AppComponent.
1. Thành phần cha AppComponent
Trong bài trước, khi tạo project, chúng ta đã thấy các file được tạo ra trong thư mục src/app:
- app.component.css
- app.component.html
- app.component.spec.ts
- app.component.ts
- app.module.ts
Nếu bạn mở file app.module.ts ra, bạn sẽ thấy nội dung như sau:
import { BrowserModule } from '@angular/platform-browser';
import { NgModule } from '@angular/core';
import { AppComponent } from './app.component';

@NgModule({
   declarations: [
      AppComponent
   ],
   imports: [
      BrowserModule
   ],
   providers: [],
   bootstrap: [AppComponent]
})

export class AppModule { }
Ba dòng đầu tiên
import { BrowserModule } from '@angular/platform-browser';
import { NgModule } from '@angular/core';
import { AppComponent } from './app.component';
có tác dụng import các module và component cần thiết: BrowserModule, NgModule, AppComponent.
BrowserModule và NgModule là 2 module căn bản app nào cũng có. AppComponent là component được khai báo trong file app.component.ts
Nội dung file app.component.ts:
import { Component } from '@angular/core';
@Component({
selector: 'app-root',
templateUrl: './app.component.html',
styleUrls: ['./app.component.css']
})
export class AppComponent {
title = 'app';
}
AppComponent là thành phần cha của ứng dụng. Tất cả các thành phần mới tạo ra sau này đều là thành phần con của AppComponent.
2. Tạo component
Để tạo component mới, ta sử dụng lệnh Angular CLI:
ng g component <ten-component>
Ví dụ, để tạo component có tên là new-cmp, ta chạy lệnh ng g component new-cmp
Sau khi chạy, màn hình hiển thị quá trình tạo component. Bạn đợi chừng 5 - 10s thì... bùm, component new-cmp được tạo ra như hình dưới
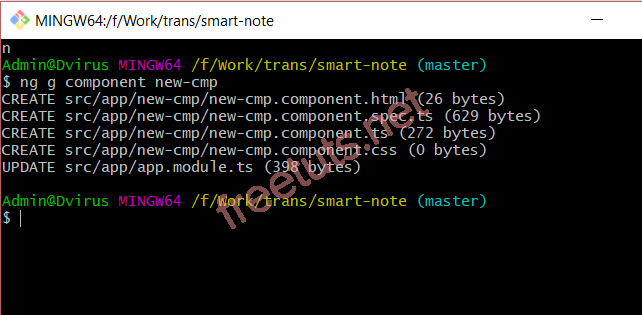
Vào kiểm tra cấu trúc thư mục thì ta thấy thư mục new-cmp được tạo ra trong thư mục src/app/. Trong thư mục new-cmp có 4 file được tạo ra:
- new-cmp.component.css − file css của component.
- new-cmp.component.html − file html của component.
- new-cmp.component.spec.ts − file sử dụng cho unit test.
- new-cmp.component.ts − file định nghĩa các module, thuộc tính
Ngoài việc tạo ra mới 4 file này, angular CLI cũng giúp chúng ta khai báo new component này cho project trong file app.module.ts
import { BrowserModule } from '@angular/platform-browser';
import { NgModule } from '@angular/core';

import { AppComponent } from './app.component';
import { NewCmpComponent } from './new-cmp/new-cmp.component';

@NgModule({
  declarations: [
    AppComponent,
    NewCmpComponent // Dòng này mới được thêm vào
  ],
  imports: [
    BrowserModule
  ],
  providers: [],
  bootstrap: [AppComponent]
})
export class AppModule { }
3. Cấu trúc của component
import { Component, OnInit } from '@angular/core'; // Khai báo import angular/core

@Component({
  // Khai báo selector cho component new-cmp
   selector: 'app-new-cmp', //
   templateUrl: './new-cmp.component.html',
   // Khai báo file html mà component new-cmp "đại diện"
   styleUrls: ['./new-cmp.component.css'] // Khai báo file style sử dụng
})

export class NewCmpComponent implements OnInit {
   constructor() { }
   ngOnInit() {}
}NewCmpComponent. Class này implements class OnInit. Class OnInit có constructor là ngOnInit(), nên trong NewCmpComponent cũng sẽ override lại constructor ngOnInit() này. Constructor ngOnInit() sẽ được gọi mặc định khi class được gọi đến.
Ở bài trước, ta đã tìm hiểu được luồng hoạt động của AppComponent: file main.ts được chạy đầu tiên. Trong file main.ts khai báo AppModule. AppModule khai báo sử dụng AppComponent. Trong App Component có selector <app-root>, <app-root> được gọi trong file index.html và cuối cùng file index.html được hiển thị lên trình duyệt.
Cách hoạt động của component khác cũng tương tự như App Component. Trong ví dụ trên, NewCmpComponent khai báo selector là <app-new-cmp>. Như vậy thẻ <app-new-cmp> sẽ "đại diện" cho NewCmpComponent, khai báo <app-new-cmp> ở đâu thì nội dung file html của NewCmpComponent sẽ được hiển thị ở chỗ đó, giống như khi khai báo <app-root></app-root> ở đâu thì nội dung file app.component.html được hiển thị ở đó.
4. Sử dụng component
Để sử dụng component, bạn cần đặt selector của component ở nơi cần hiển thị.
Lý thuyết nhiều hơi khó hiểu nên chúng ta hãy cùng làm 1 ví dụ về sử dụng component cho dễ hình dung nhé.
Giả sử tớ muốn sửa trang chủ của ứng dụng smart-note như hình dưới
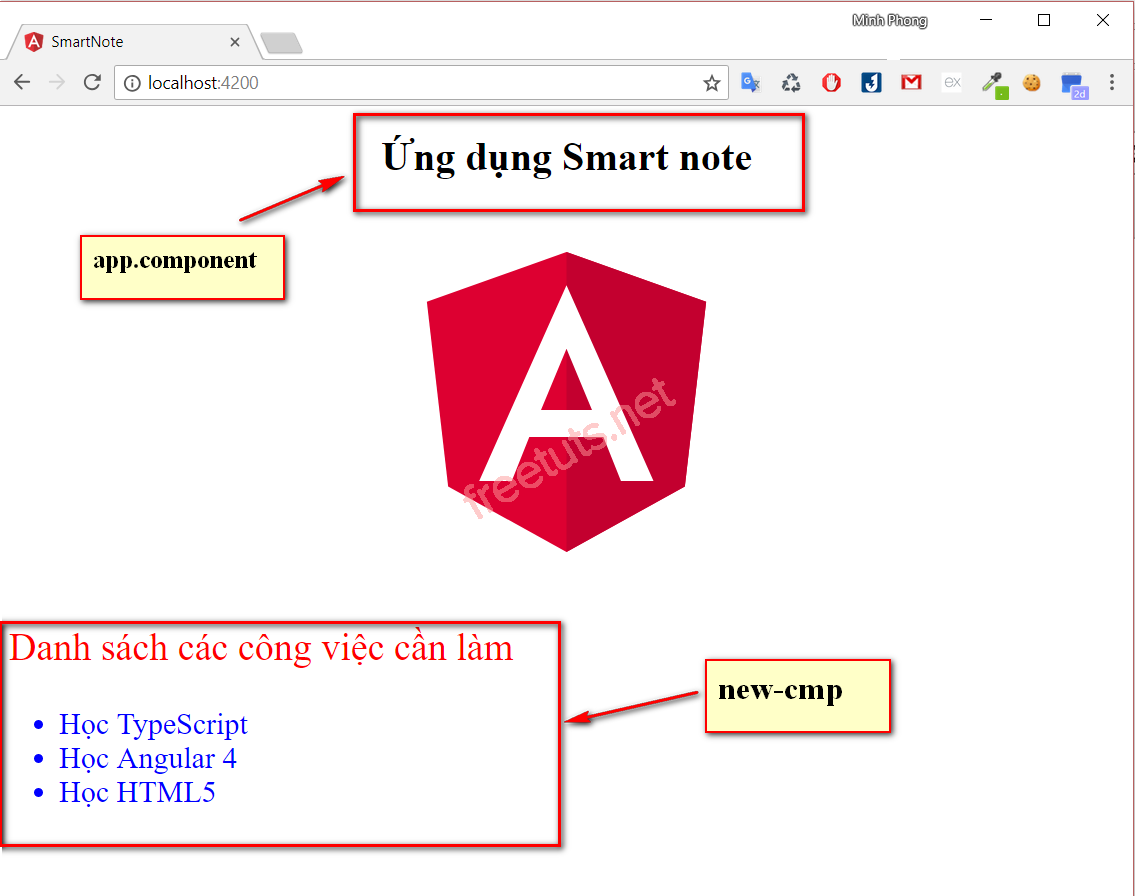
Nhìn vào đây, ta có phân tích:
- NewCmpComponent chứa danh sách các công việc cần làm => lưu danh sách công việc cần làm trong NewComponent class, chạy vòng for ngoài file new-cmp.component.html trong cặp thẻ <li>
- Gọi đến selector của NewCmpComponent trong app.component.html.
Đầu tiên, trong file new-cmp.component.ts, chúng ta thêm khai báo mảng dữ liệu:
import { Component, OnInit } from '@angular/core';

@Component({
  selector: 'app-new-cmp',
  templateUrl: './new-cmp.component.html',
  styleUrls: ['./new-cmp.component.css']
})
export class NewCmpComponent implements OnInit {
	todo = ["Học TypeScript", "Học Angular 4", "Học HTML5"]; // Khai báo mảng dữ liệu

  constructor() { }

  ngOnInit() {
  }

}
Sau đó, bên trong file new-cmp.component.html, ta chạy vòng for để hiển thị dữ liệu bên trong component ra
<p>Danh sách các công việc cần làm</p>
<ul>
	<li *ngFor="let cv of todo">{{cv}}</li>
</ul>
Component new-cmp có selector là app-new-cmp, do vậy, để hiển thị dữ liệu trong component ra trang chủ, ta chỉ cần gọi đến selector của component này trong component cha. Ta thêm selector bên trong file app.component.html
<!--The content below is only a placeholder and can be replaced.-->
<div style="text-align:center">
  <h1>
    {{appName}}
  </h1>
  <img width="300" alt="Angular Logo" src="data:image/svg+xml;base64,PHN2ZyB4bWxucz0iaHR0cDovL3d3dy53My5vcmcvMjAwMC9zdmciIHZpZXdCb3g9IjAgMCAyNTAgMjUwIj4KICAgIDxwYXRoIGZpbGw9IiNERDAwMzEiIGQ9Ik0xMjUgMzBMMzEuOSA2My4ybDE0LjIgMTIzLjFMMTI1IDIzMGw3OC45LTQzLjcgMTQuMi0xMjMuMXoiIC8+CiAgICA8cGF0aCBmaWxsPSIjQzMwMDJGIiBkPSJNMTI1IDMwdjIyLjItLjFWMjMwbDc4LjktNDMuNyAxNC4yLTEyMy4xTDEyNSAzMHoiIC8+CiAgICA8cGF0aCAgZmlsbD0iI0ZGRkZGRiIgZD0iTTEyNSA1Mi4xTDY2LjggMTgyLjZoMjEuN2wxMS43LTI5LjJoNDkuNGwxMS43IDI5LjJIMTgzTDEyNSA1Mi4xem0xNyA4My4zaC0zNGwxNy00MC45IDE3IDQwLjl6IiAvPgogIDwvc3ZnPg==">
</div>
<!-- Đây là selector của component NewCmp -->
<app-new-cmp></app-new-cmp>
Ứng dụng lúc này của chúng ta đã "lên hình"
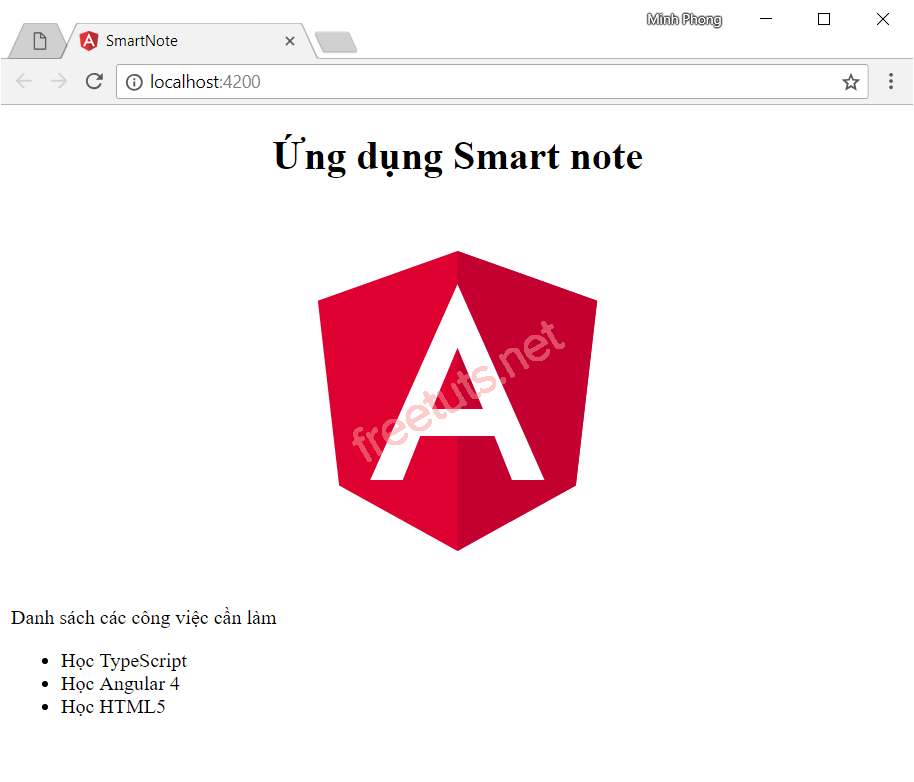
Tiếp theo, chúng ta sẽ thêm css cho ứng dụng đẹp hơn. Ta thêm các class css: text-medium, text-large để thay đổi font-size, text-blue và text-red để thay đổi màu chữ. Mỗi component có 1 file css riêng để không ảnh hưởng đến các component khác. Ở đây, chúng ta sẽ thêm các class trong file new-cmp.component.css
.text-medium{
    font-size: 1.5rem;
}

.text-large{
    font-size: 1.9rem;
}

.text-red{
    color:red;
}

.text-blue{
    color:blue;
}
Sau đó thêm các class cho các thẻ như sau, ta sẽ thu được kết quả là ứng dụng như ban đầu đặt ra.
<p class="text-large text-red">Danh sách các công việc cần làm</p>
<ul class="text-medium">
<li *ngFor="let cv of todo" class="text-blue">{{cv}}</li>
</ul>
Ở bài sau, chúng ta sẽ tìm hiểu về module trong Angular 4.